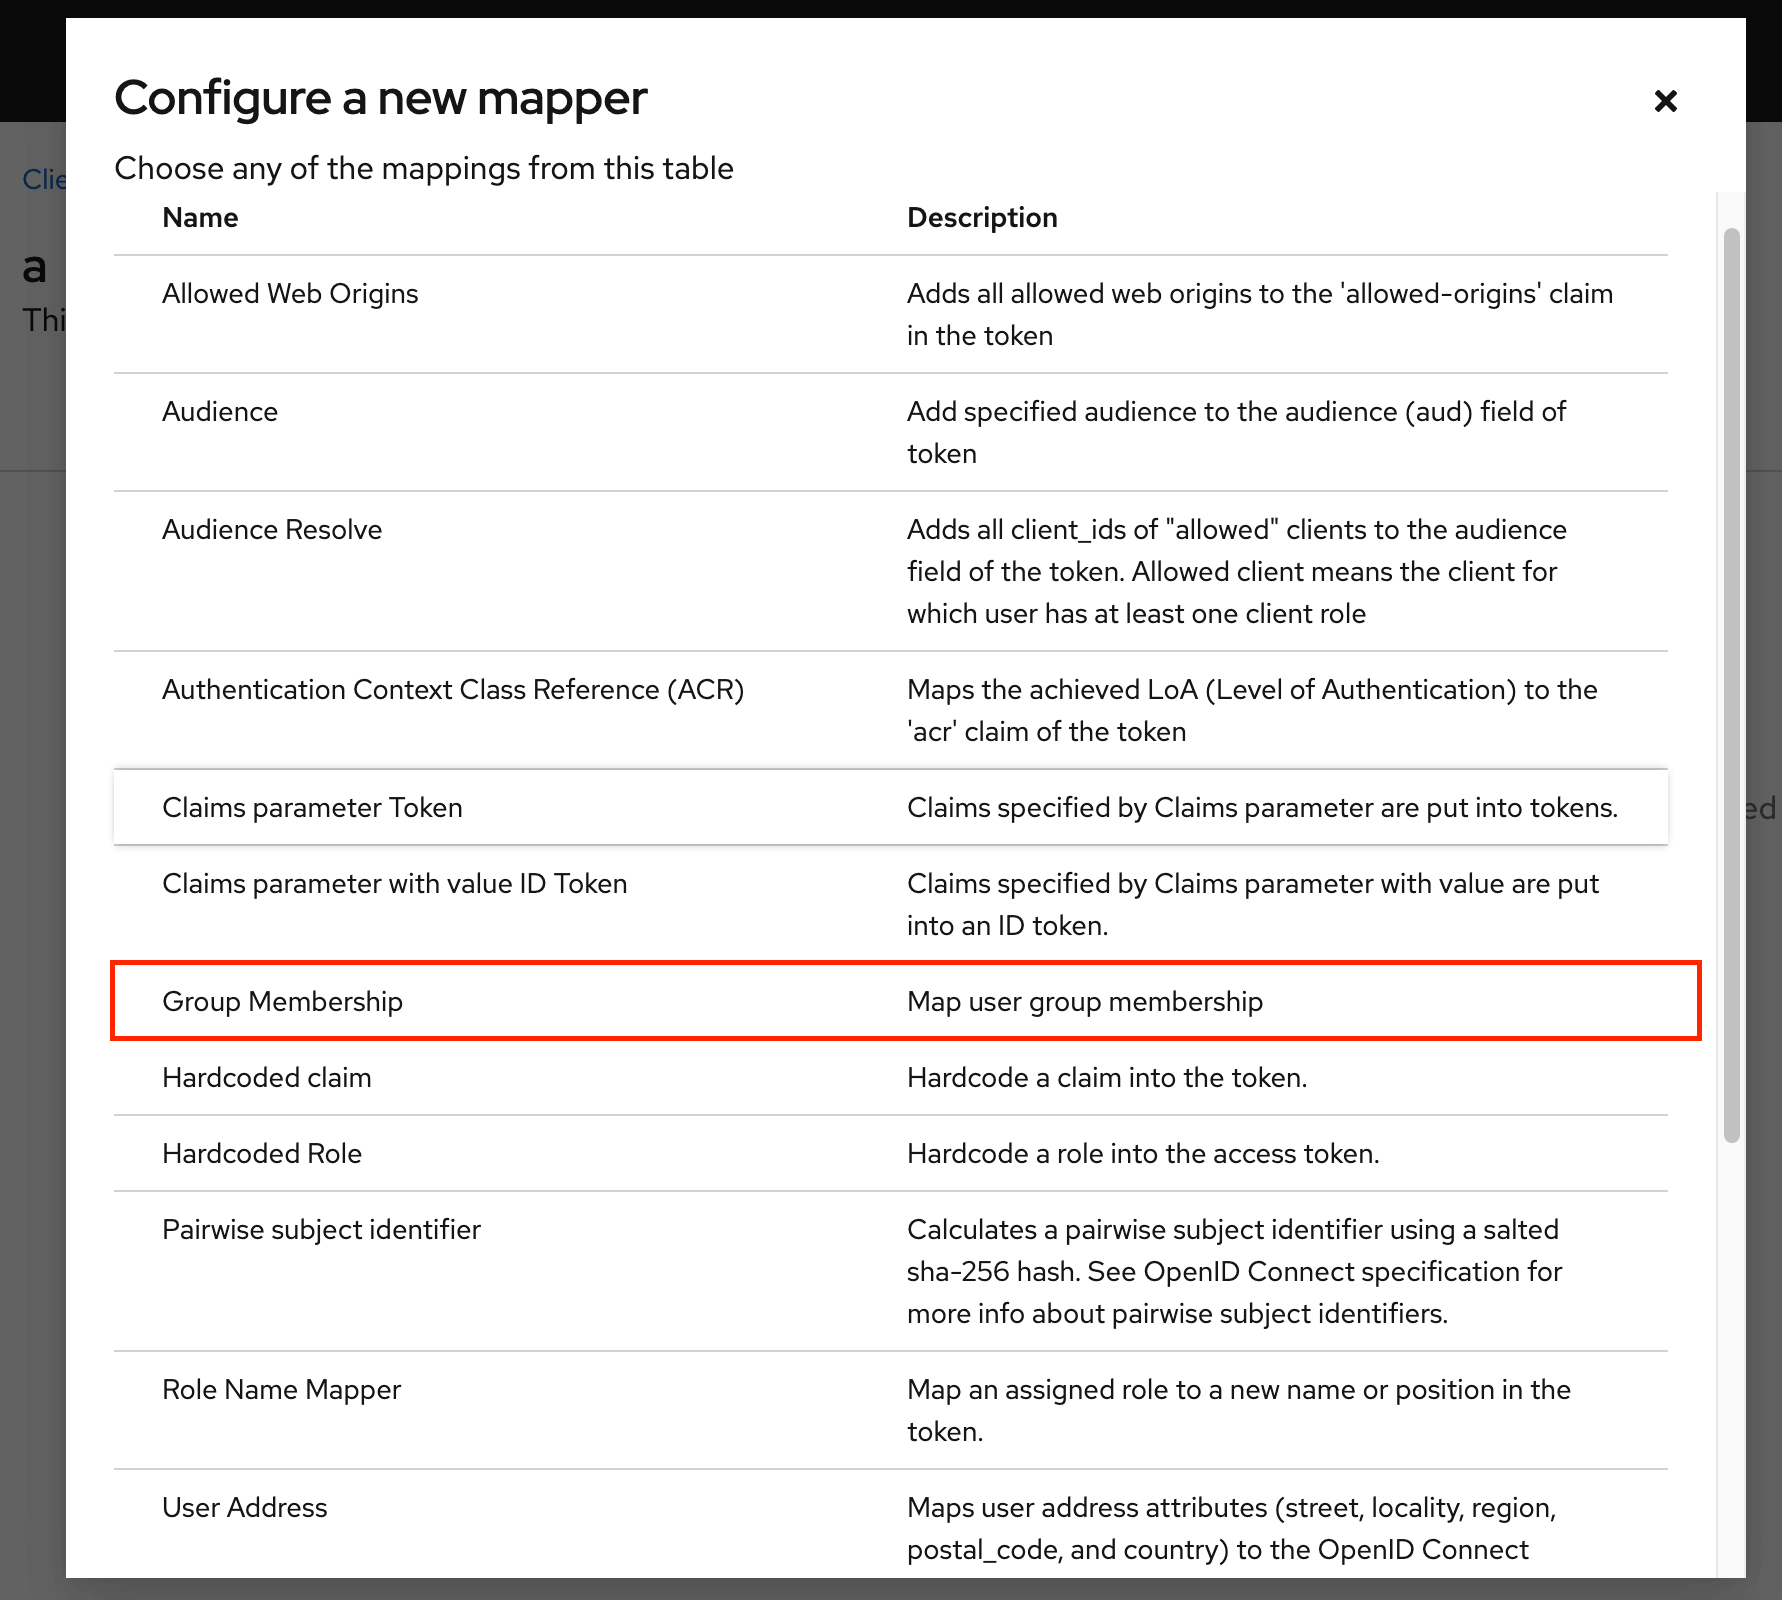
Steps to set Keyclaok as an OIDC identity provider
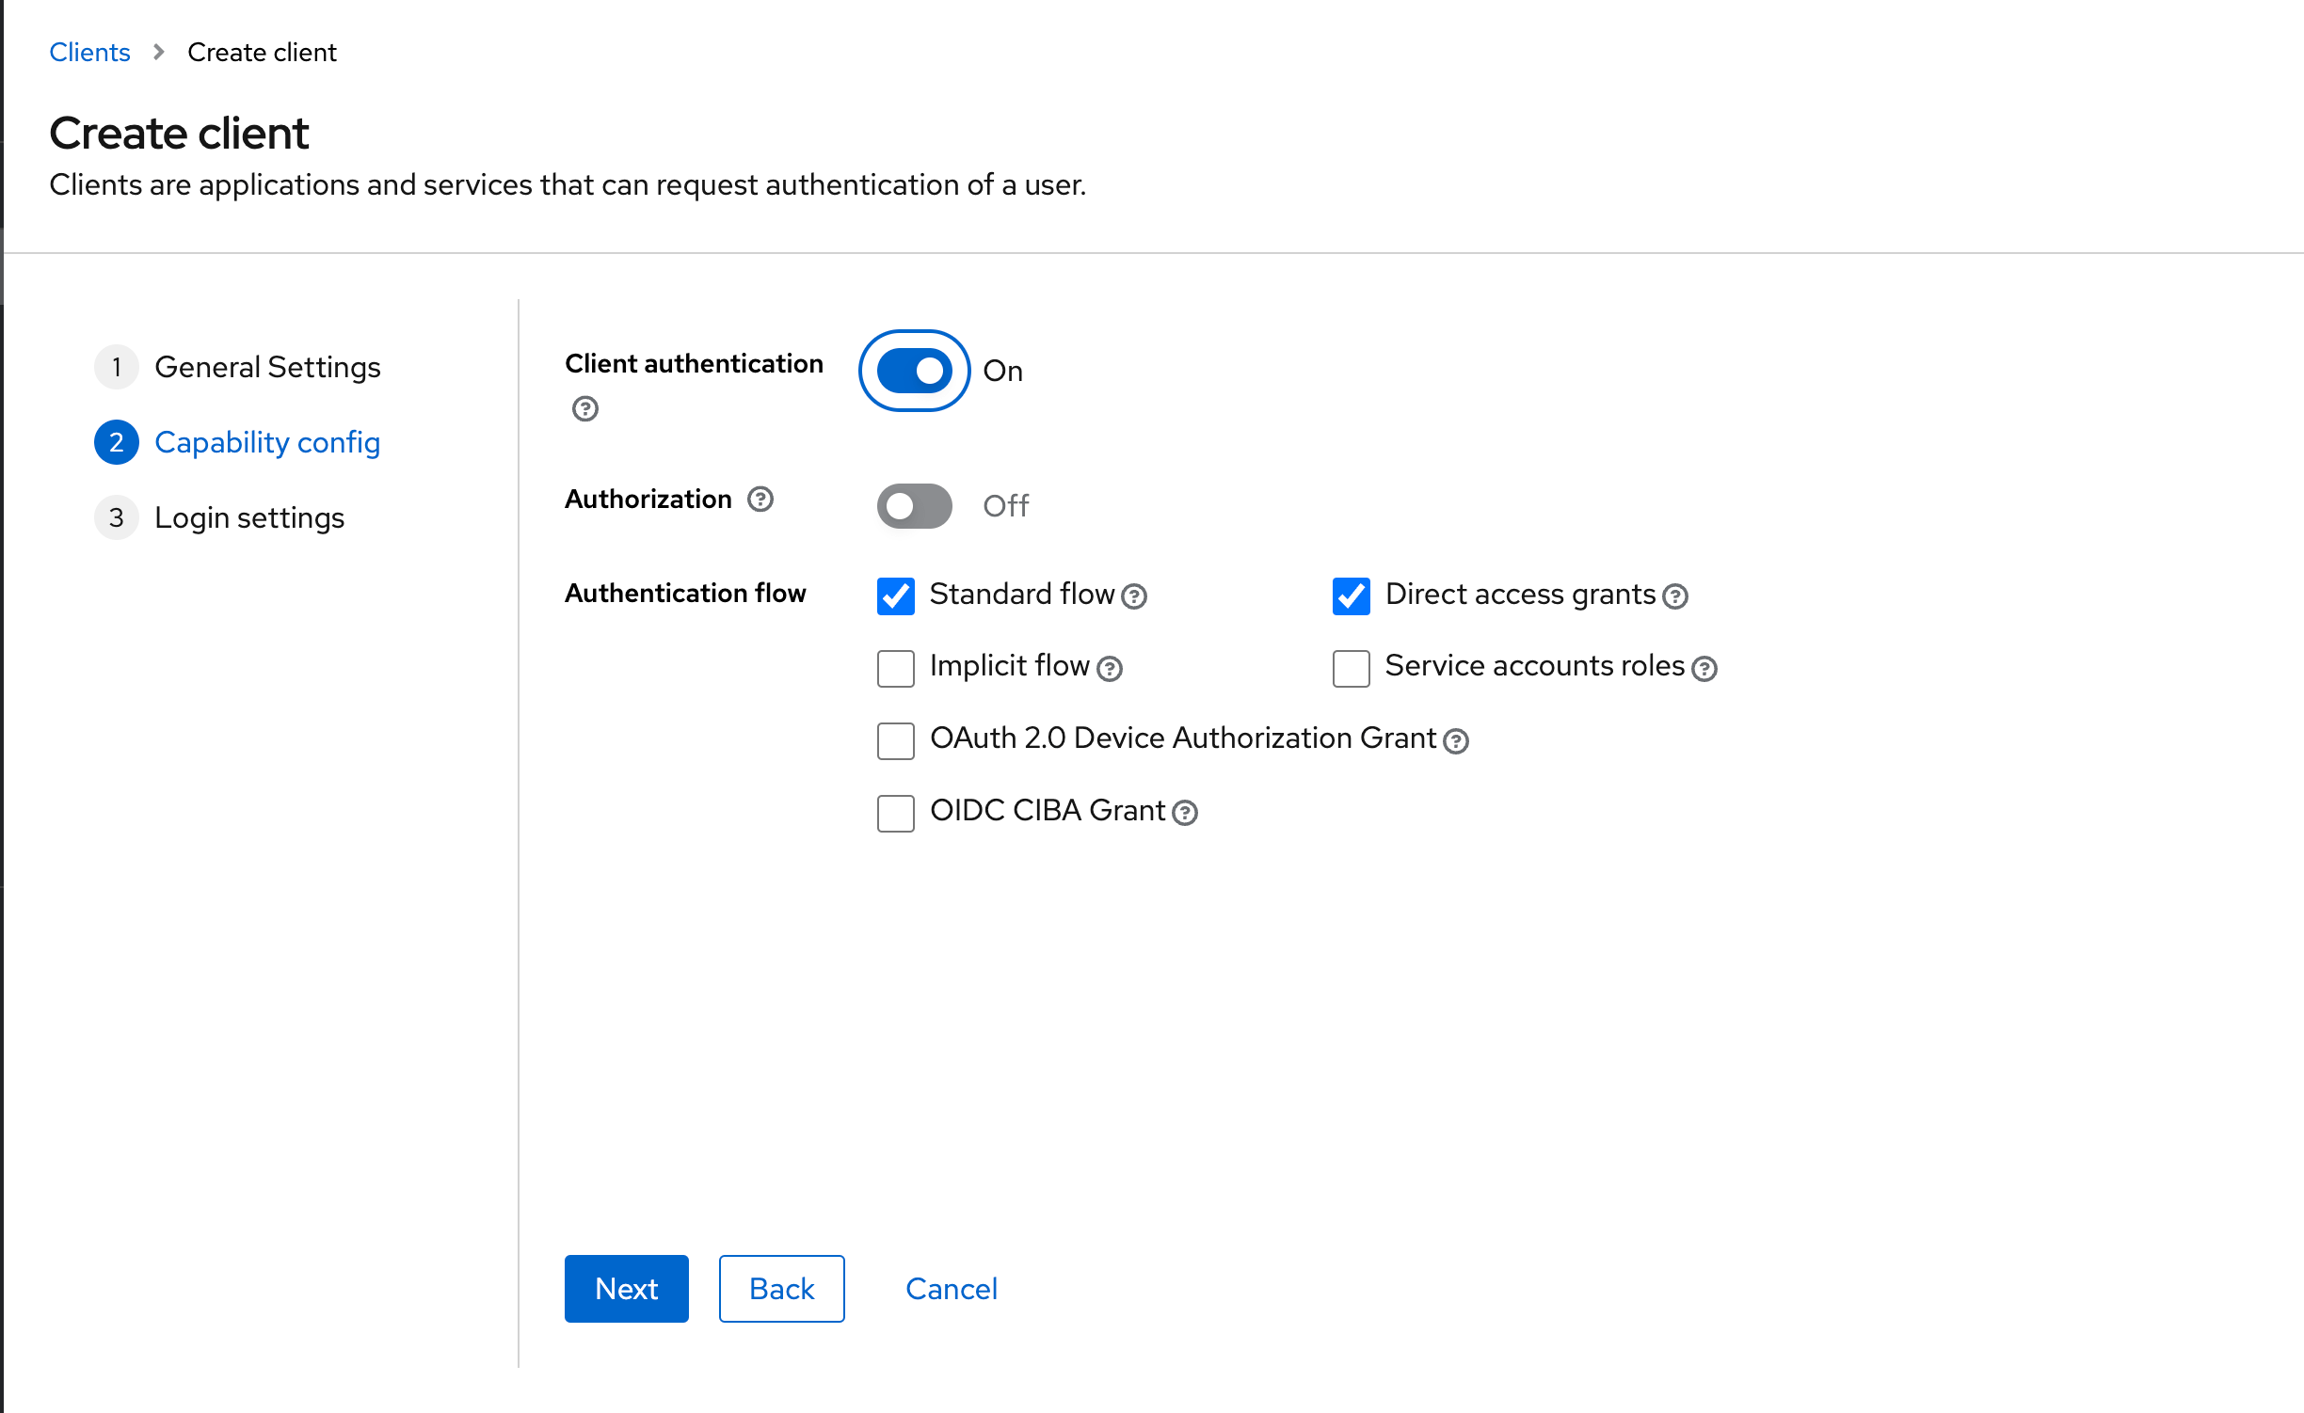
Select OpenID Connect as the Client Type, and give the client a Client IDand a Nameand then click on Next.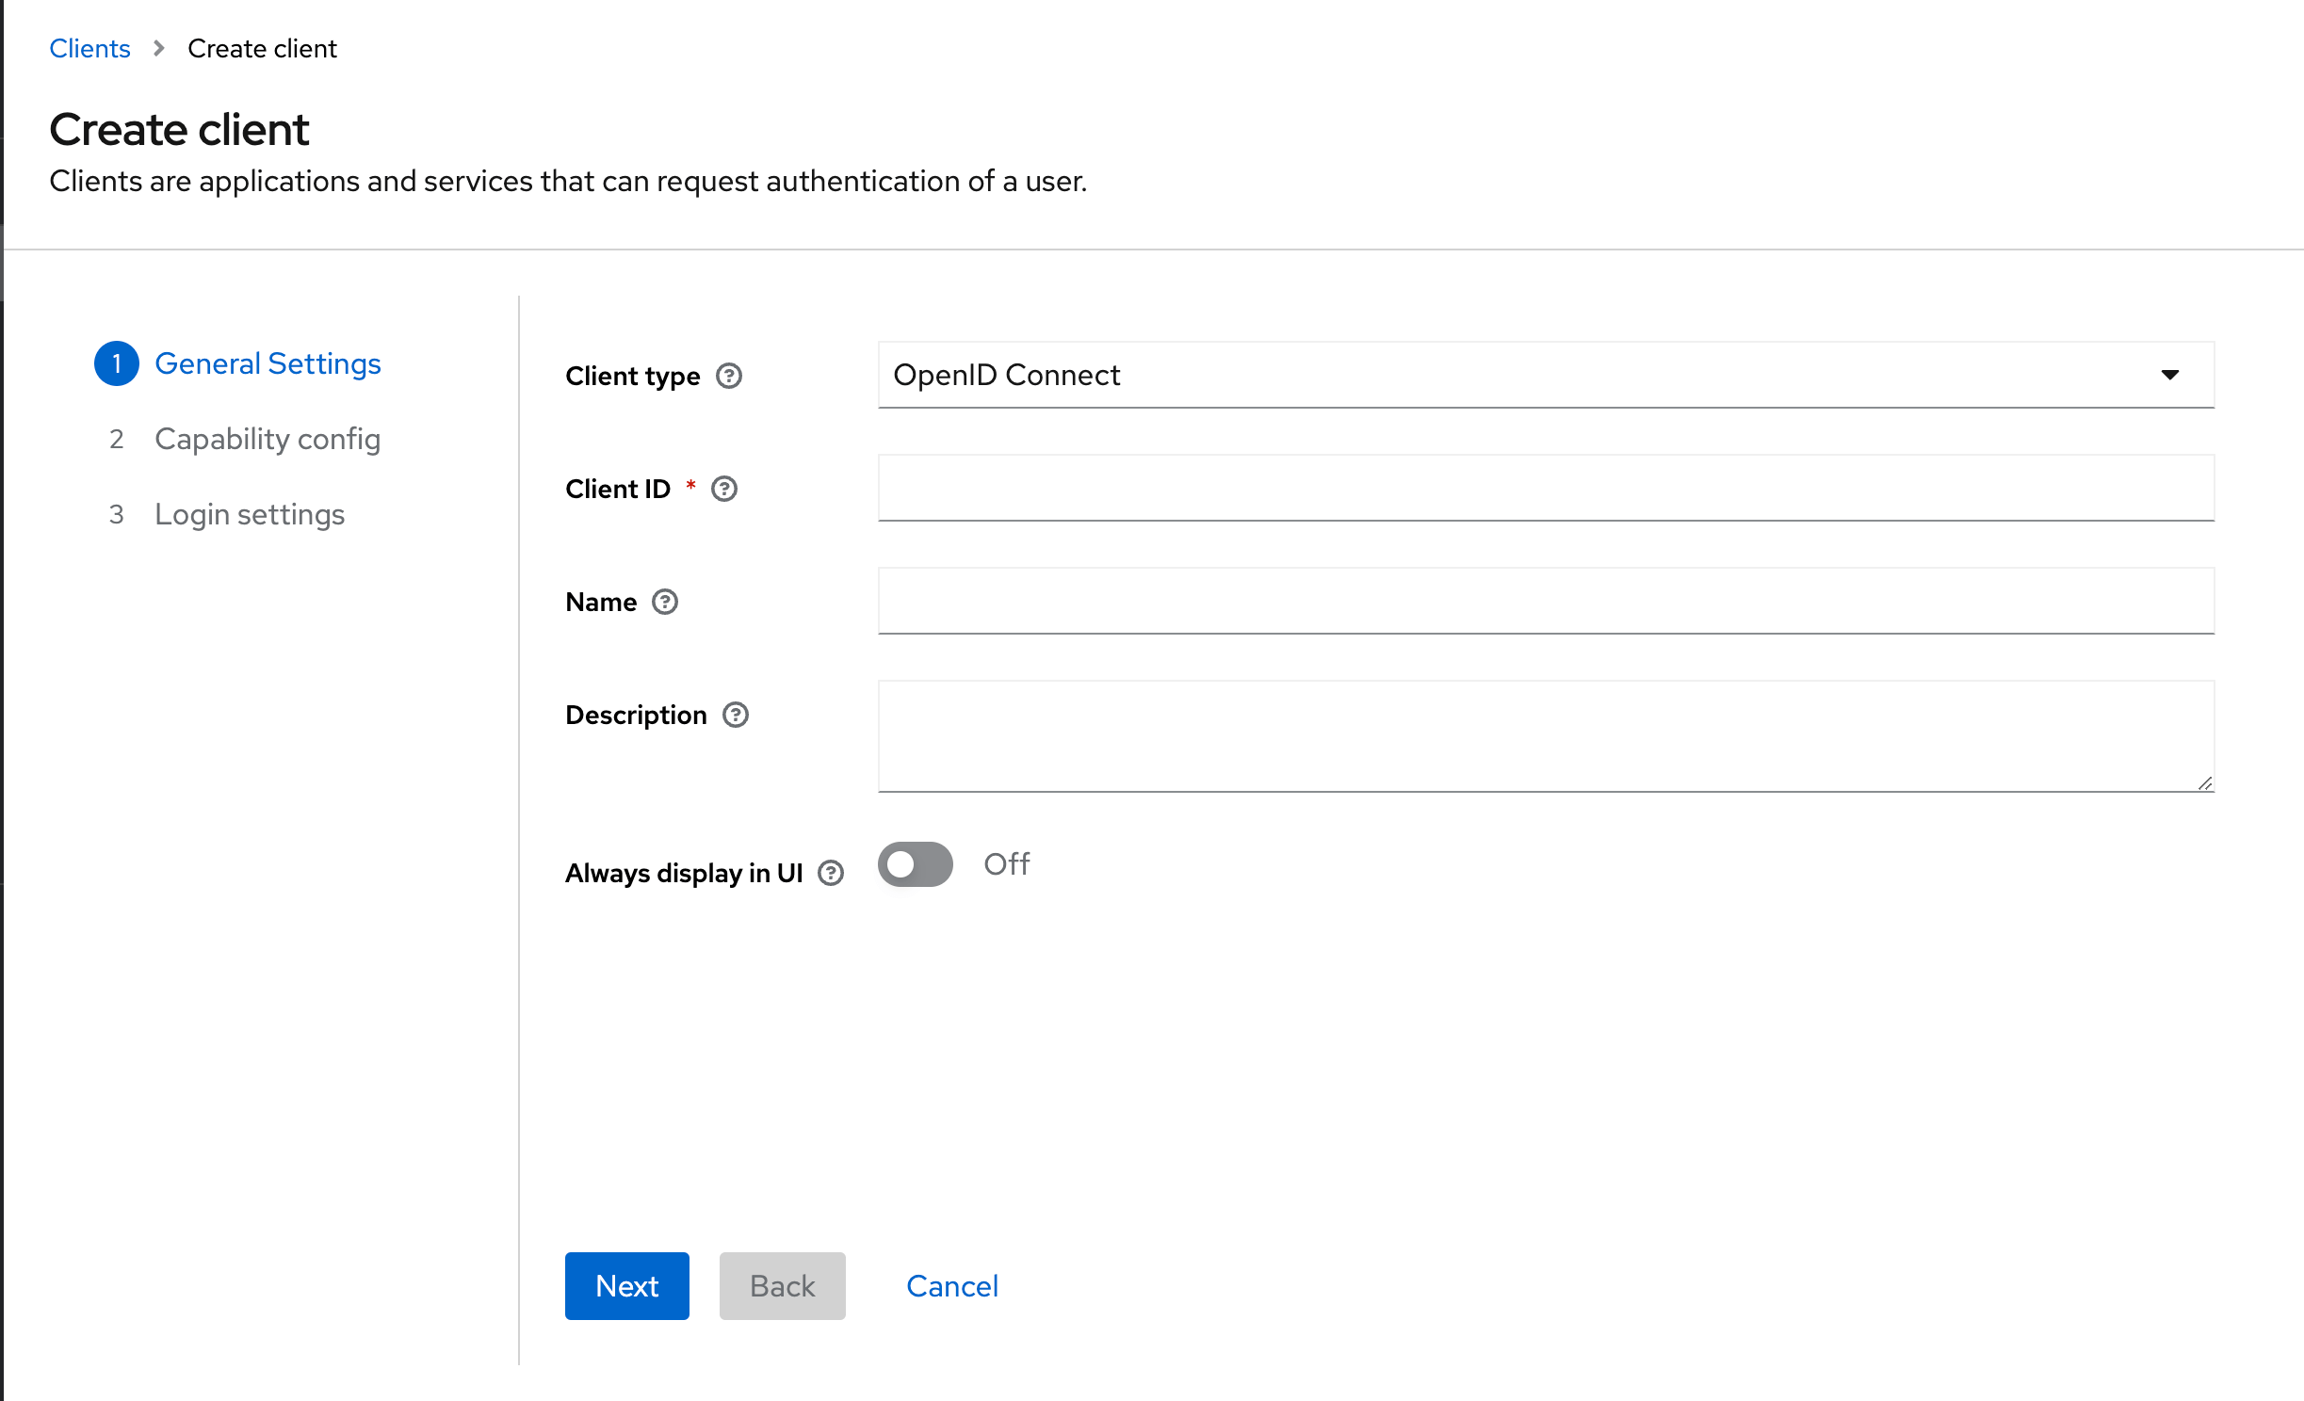

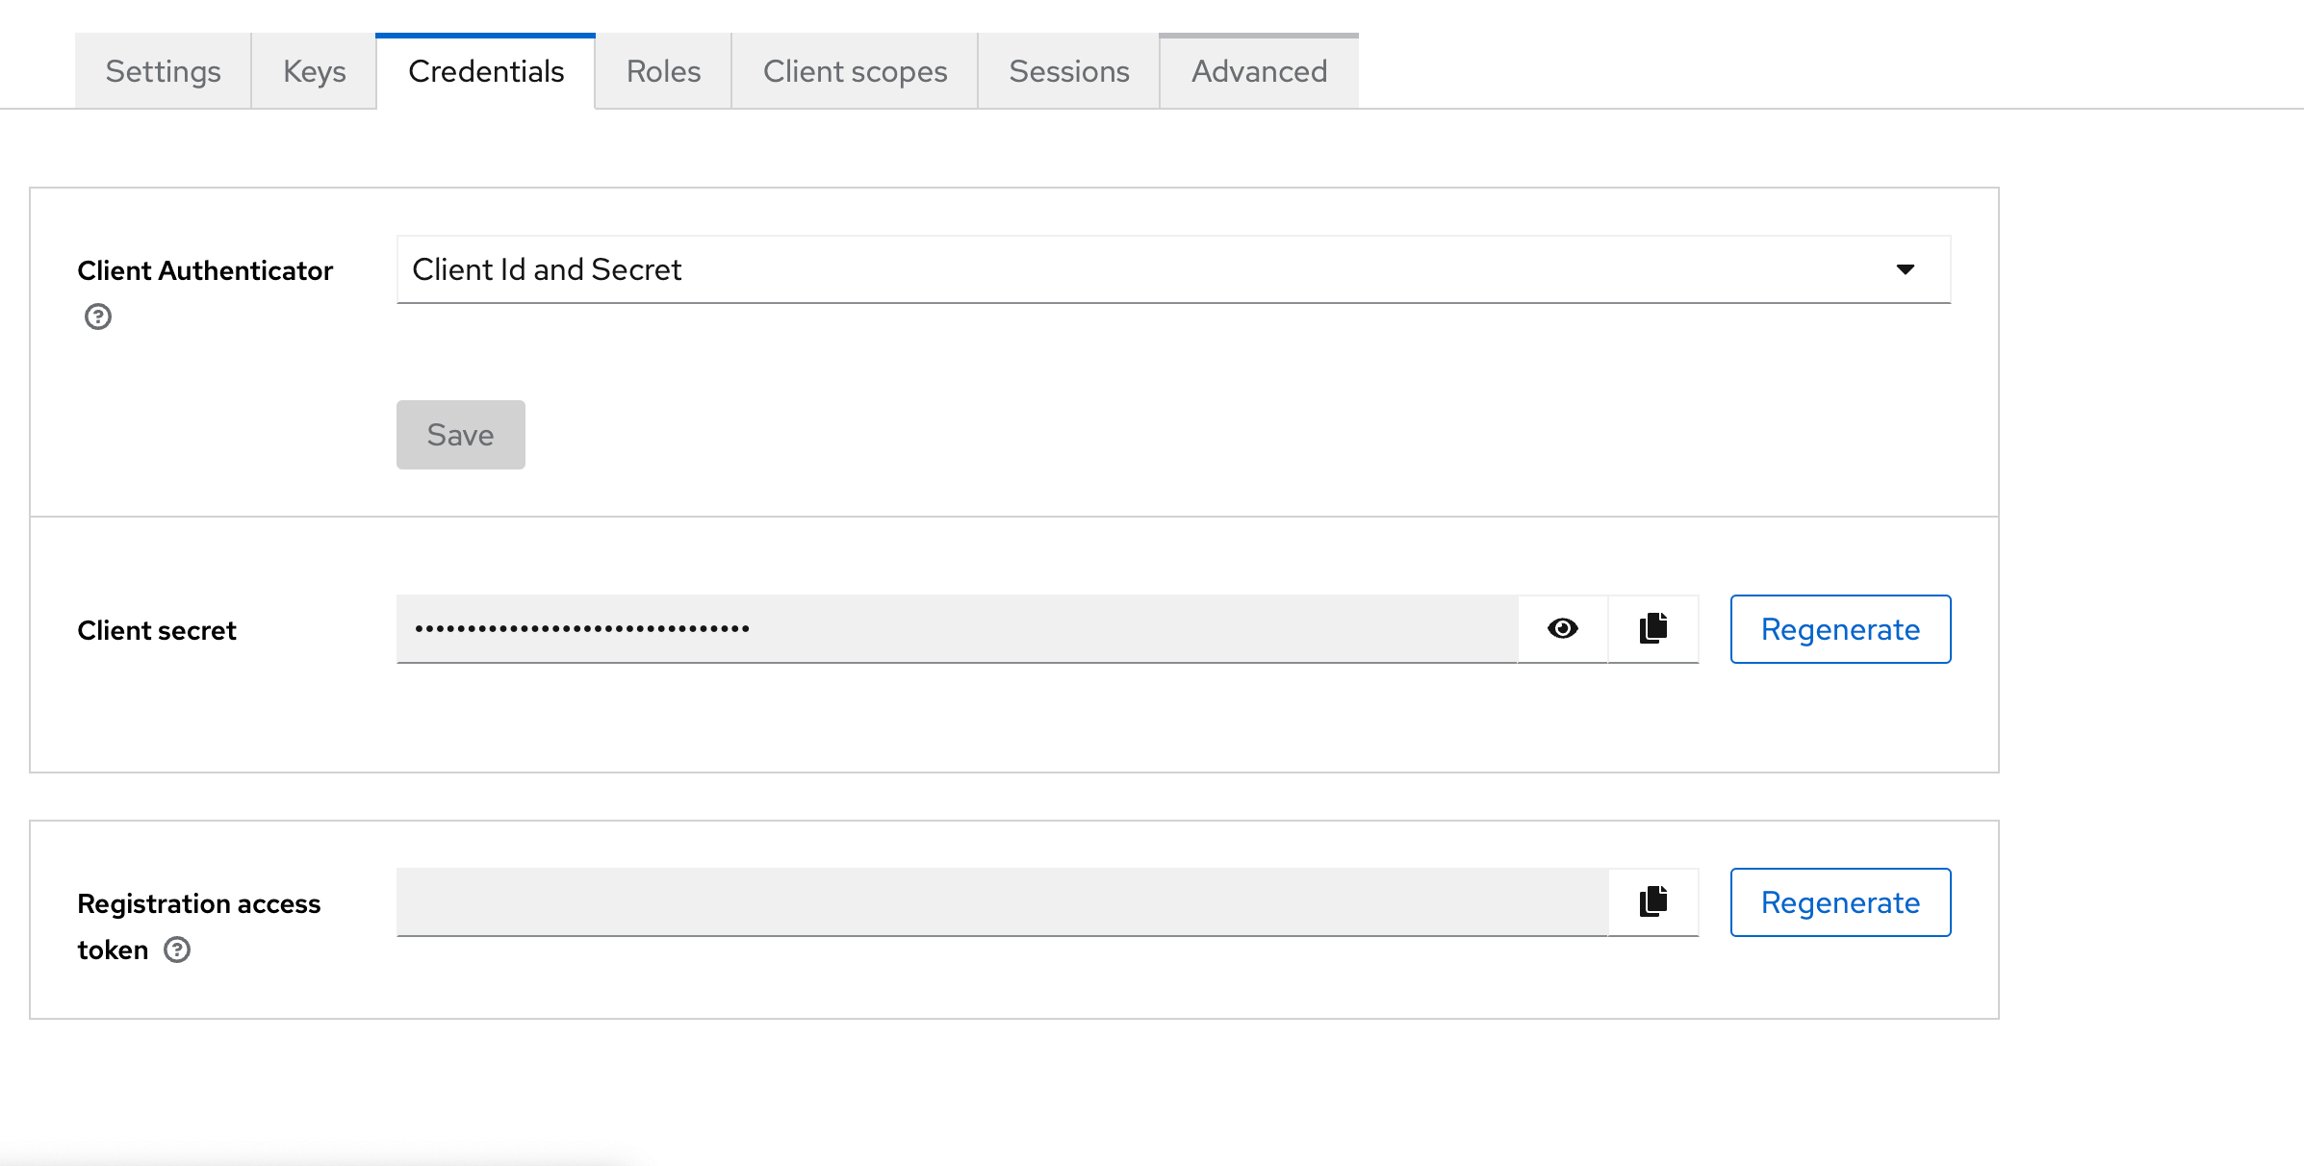
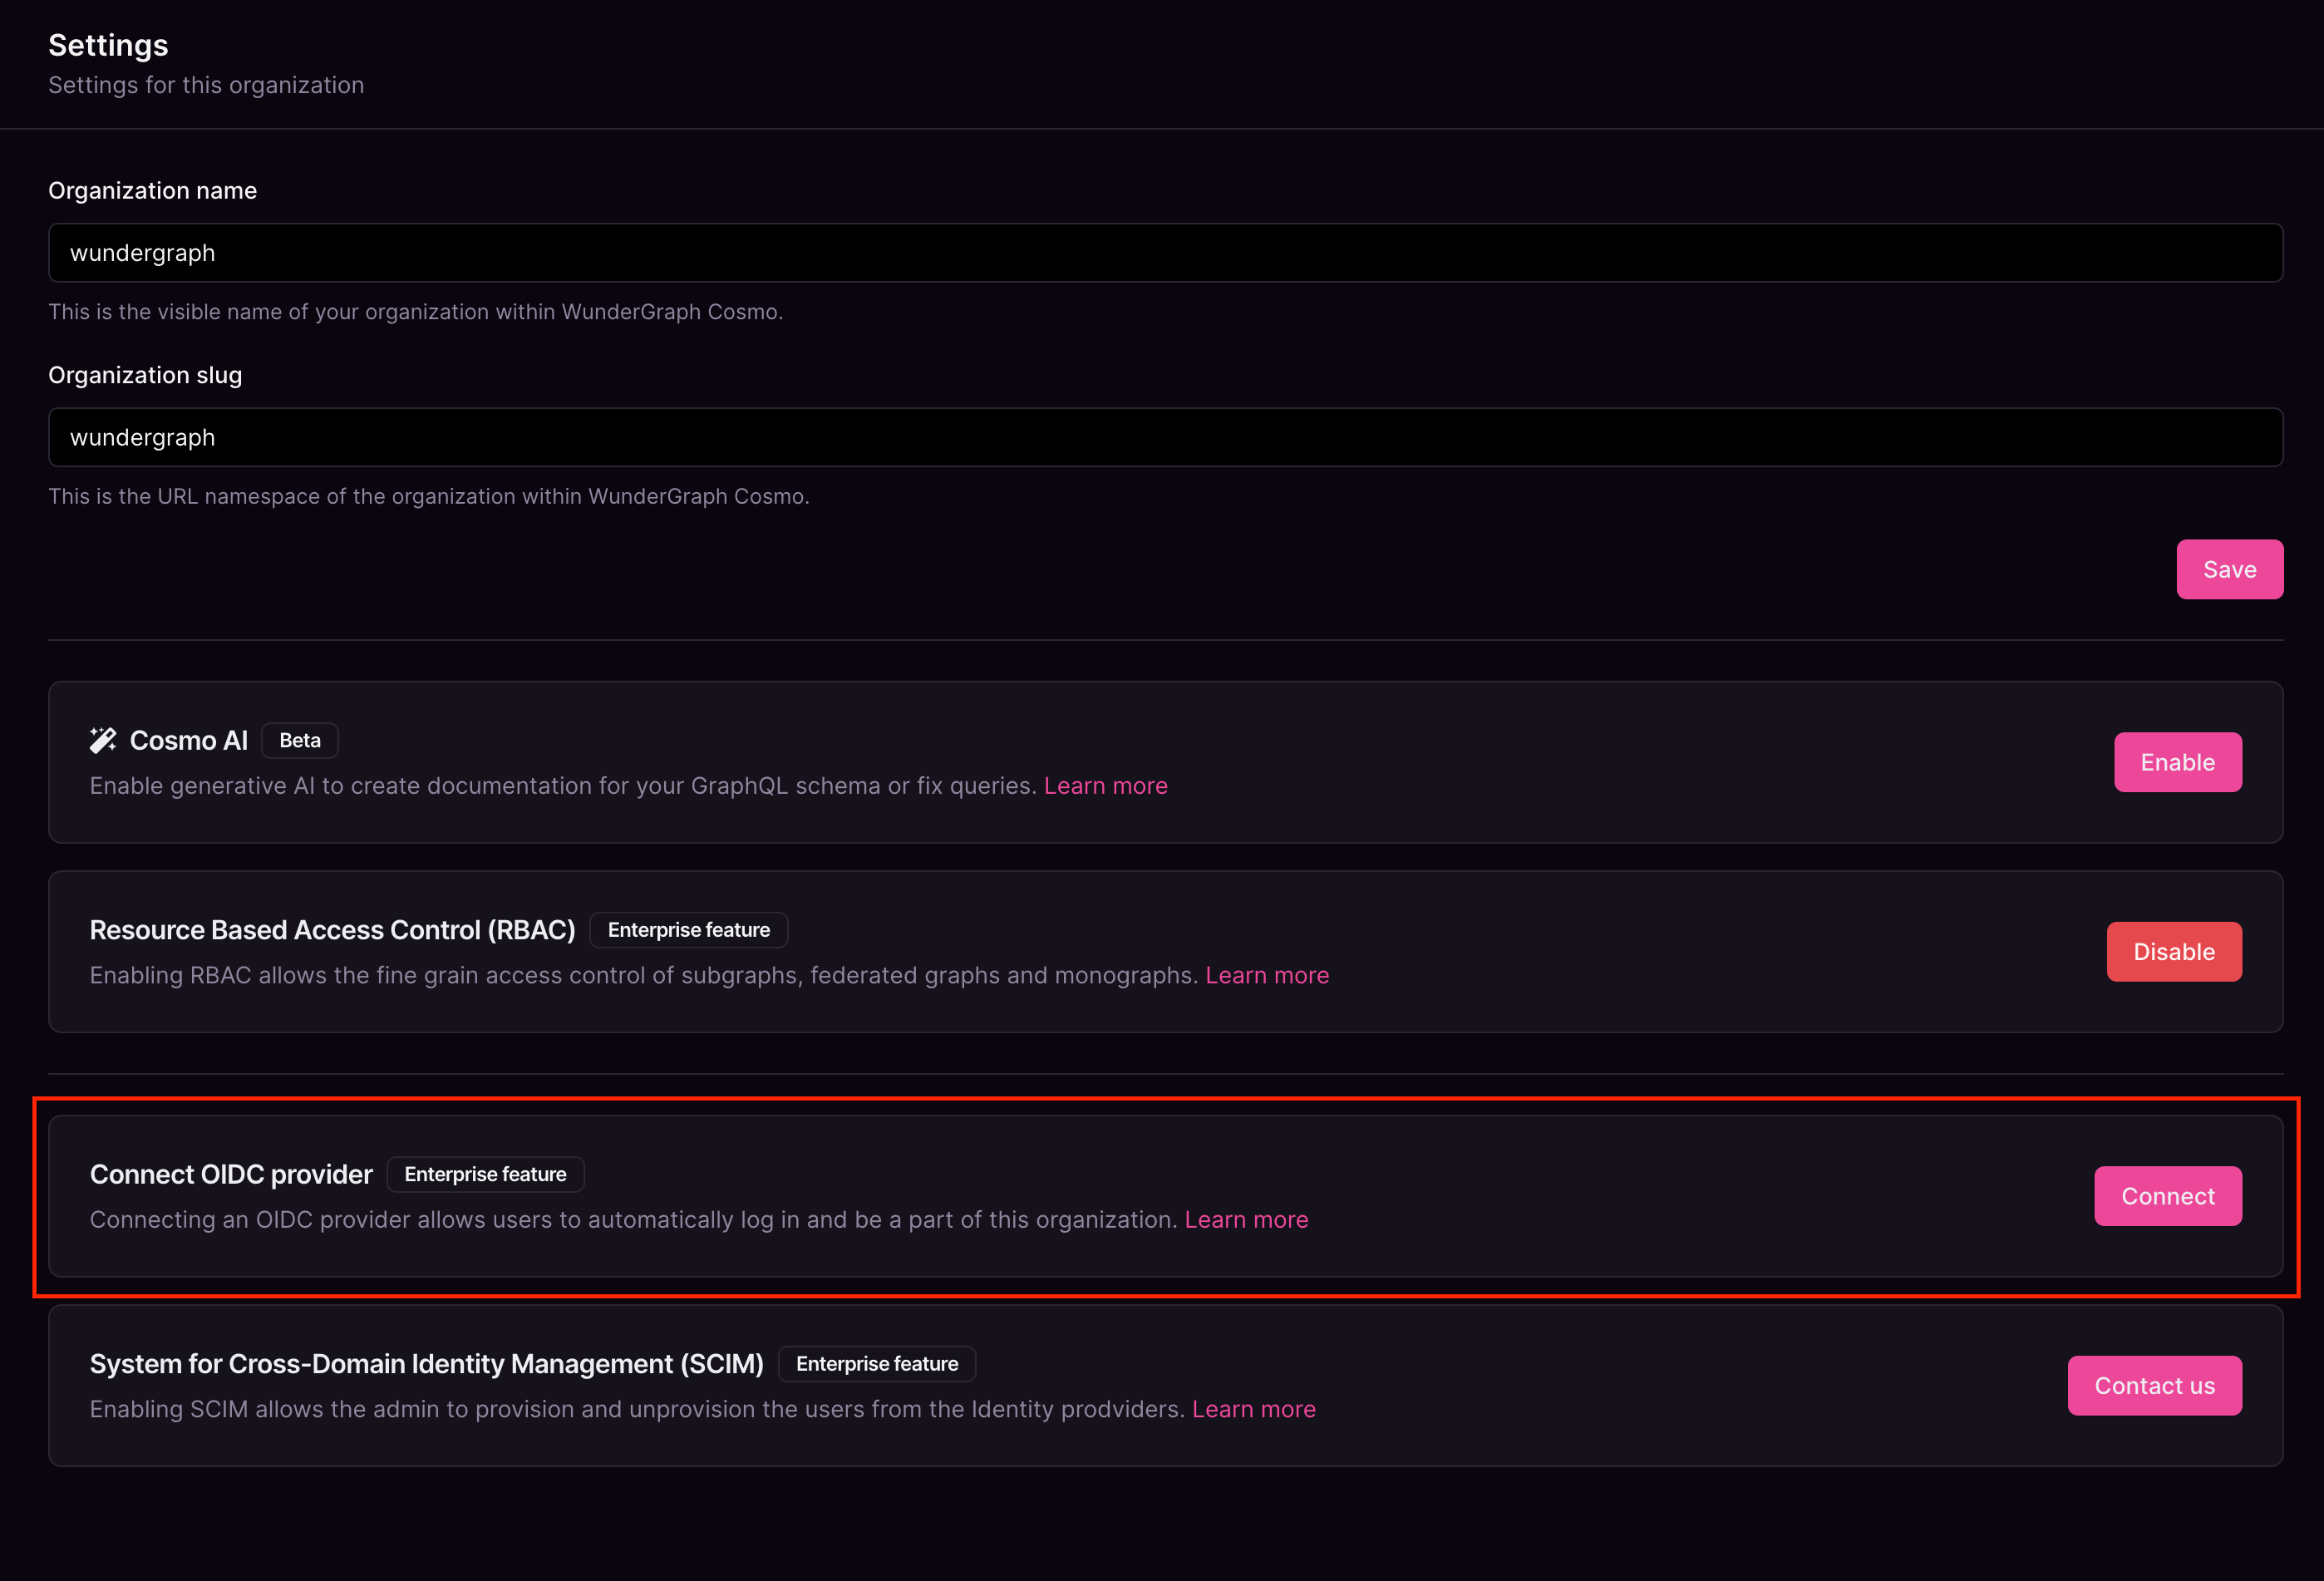
Give the connection a name, paste the OpenID Endpoint Configuration copied before, into the Discovery Endpoint,and paste the Client ID and Client secretcopied before into the Client ID and Client Secret fields respectively, and then click on Connect.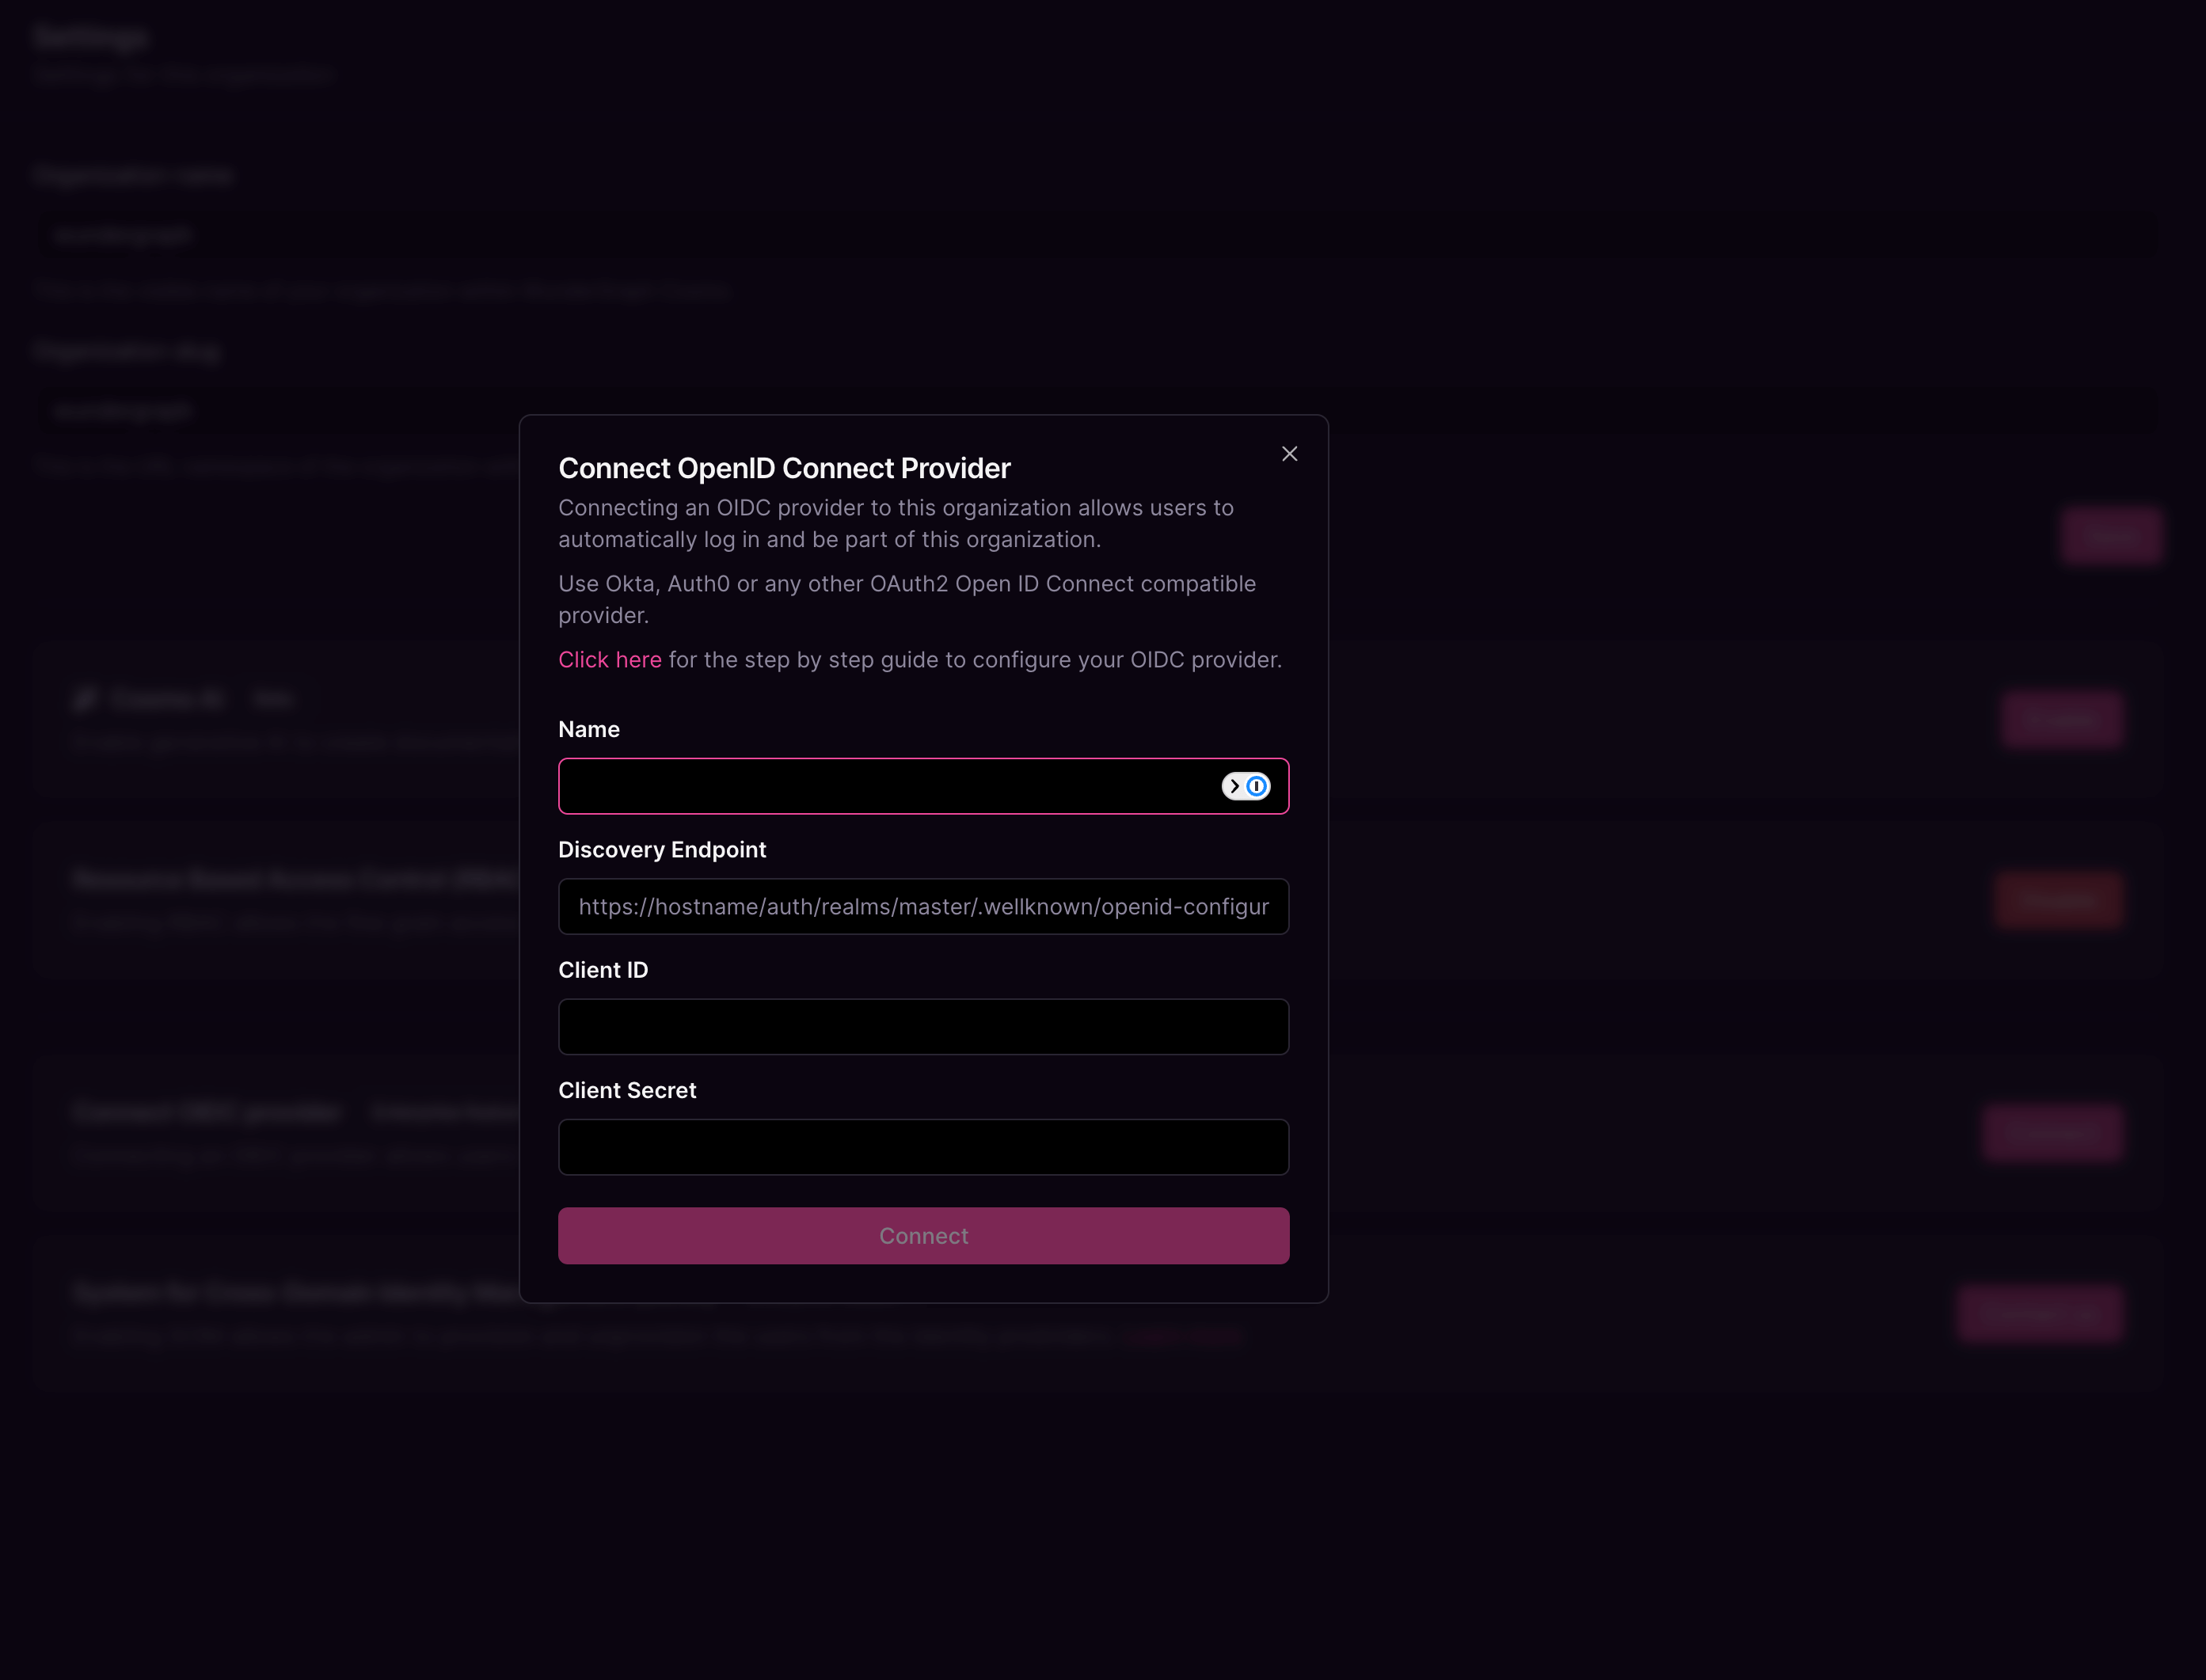

Configure the mapping between the roles in Cosmo and the user groups in Keycloak. The field Group in the provider can be populated with the name of the group or a regex to match the user groups. Once all the mappers are configured, click on Save.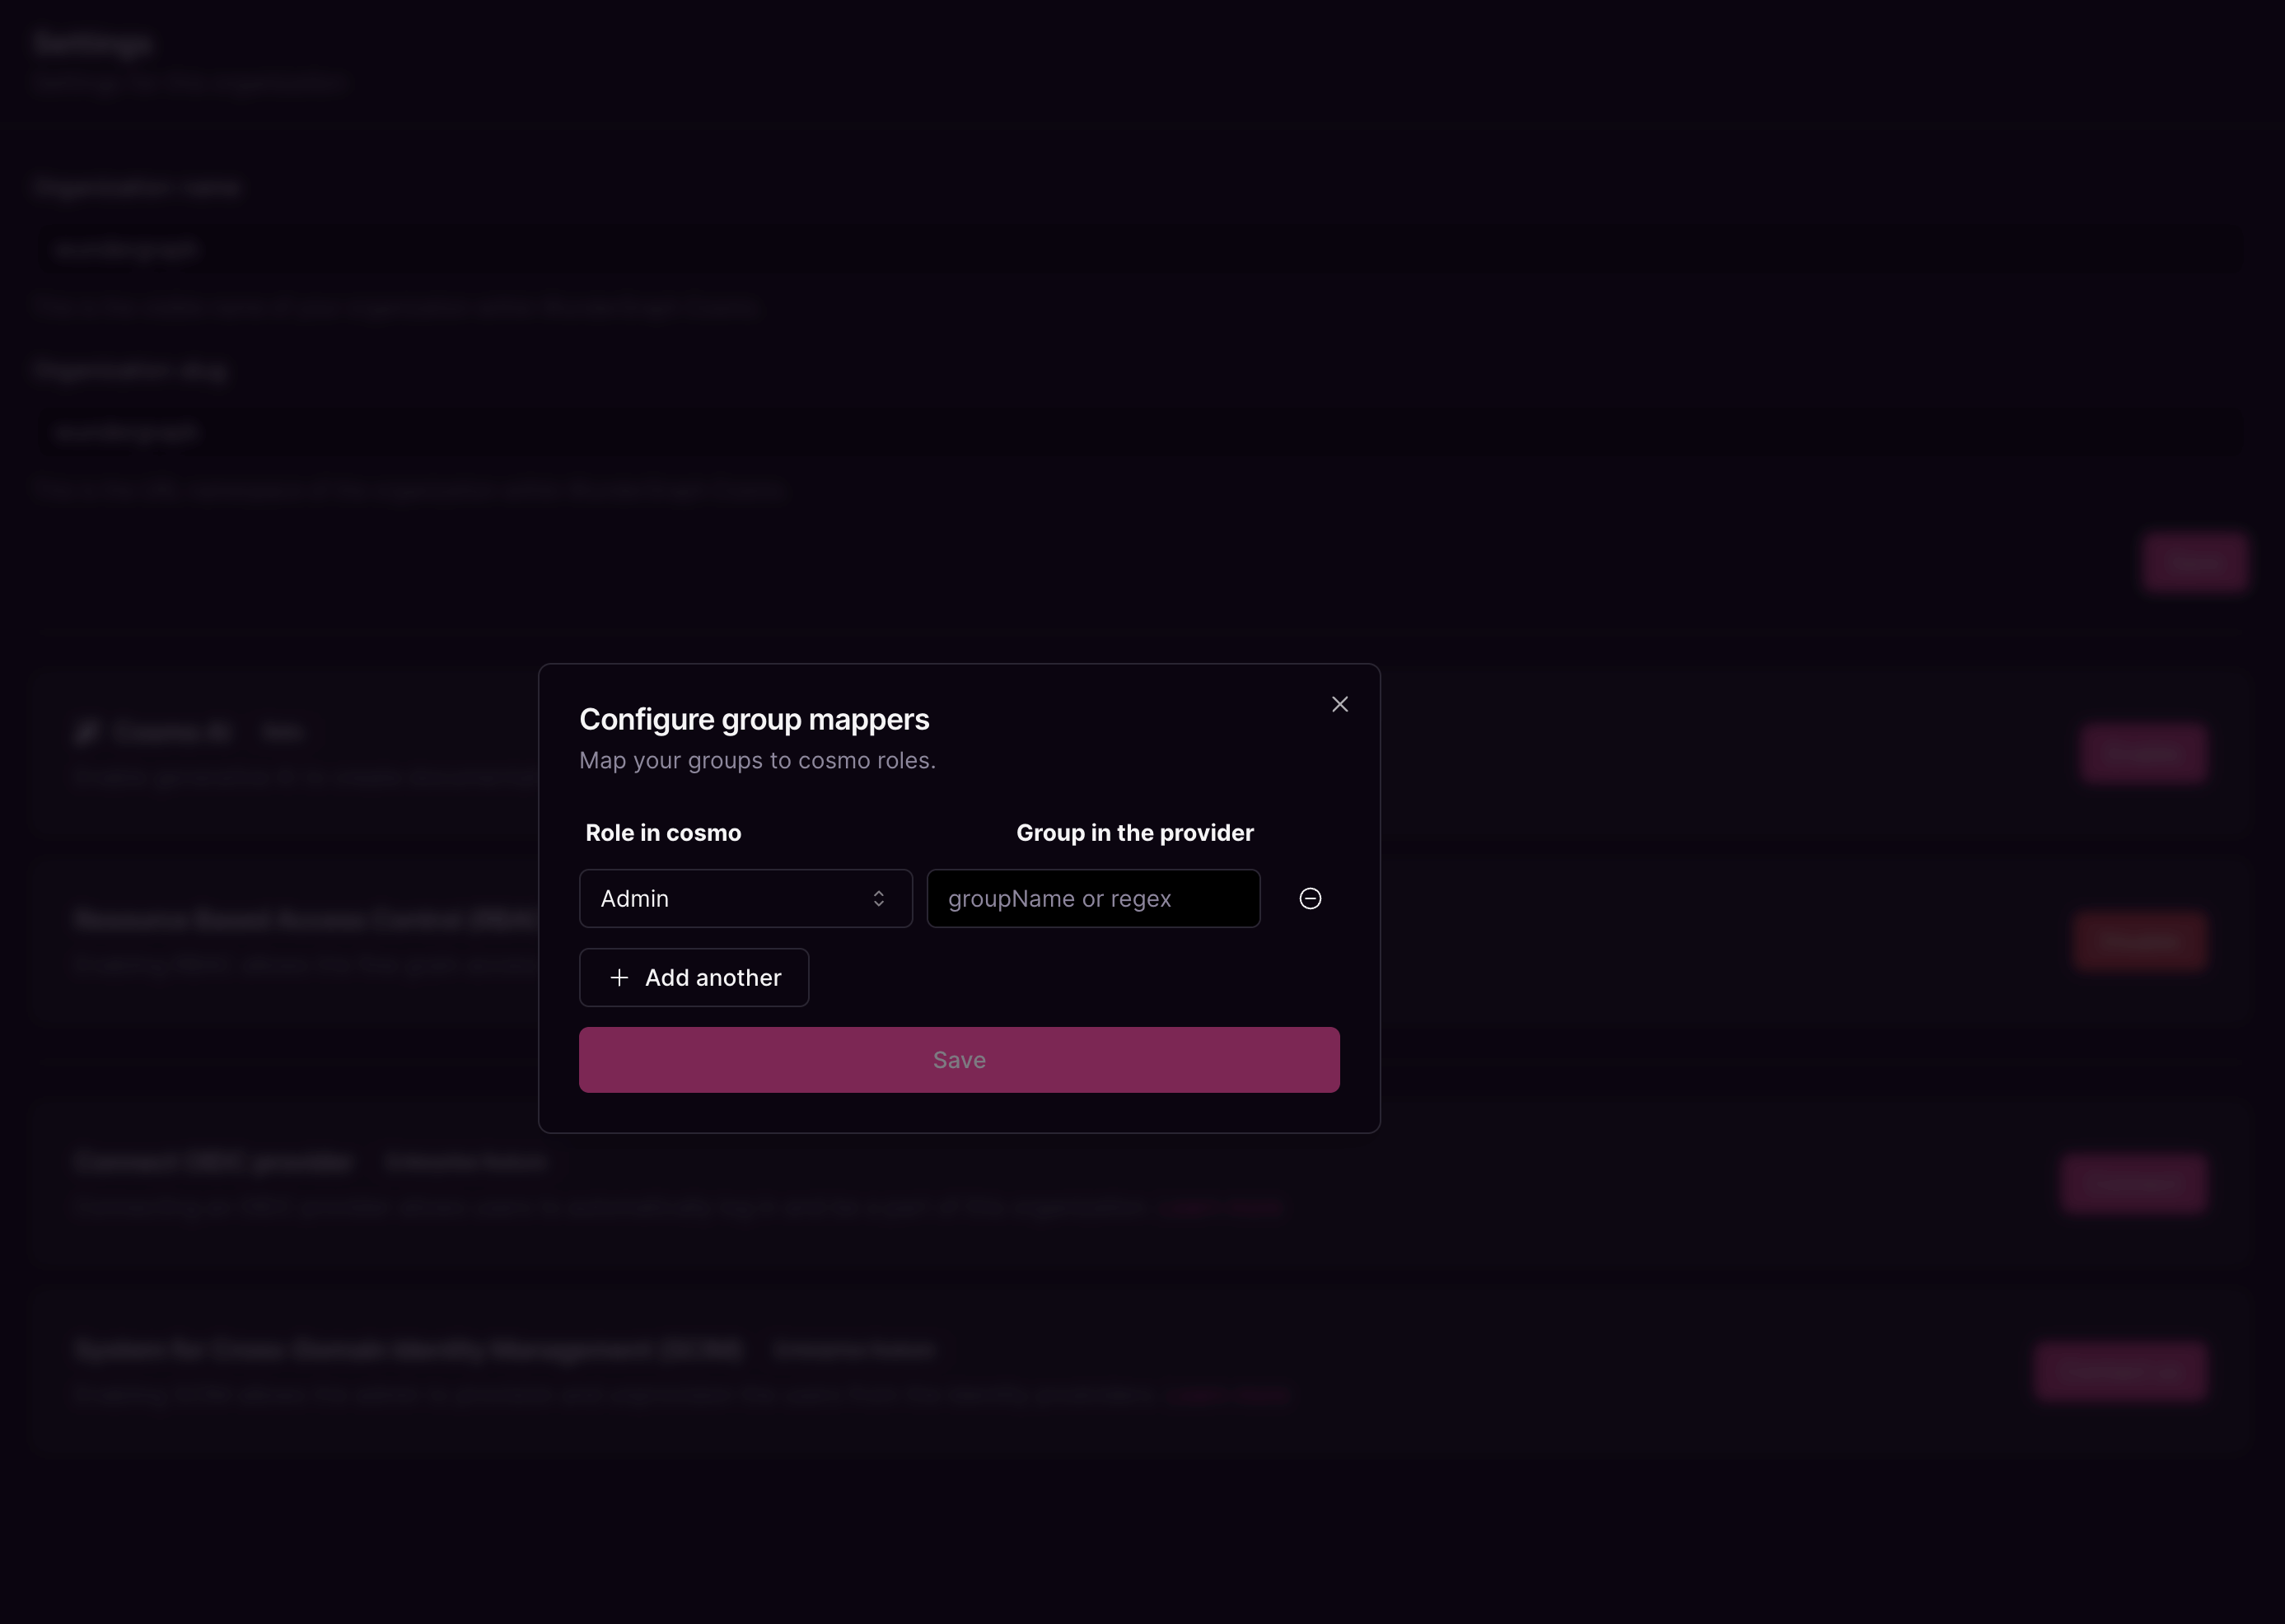

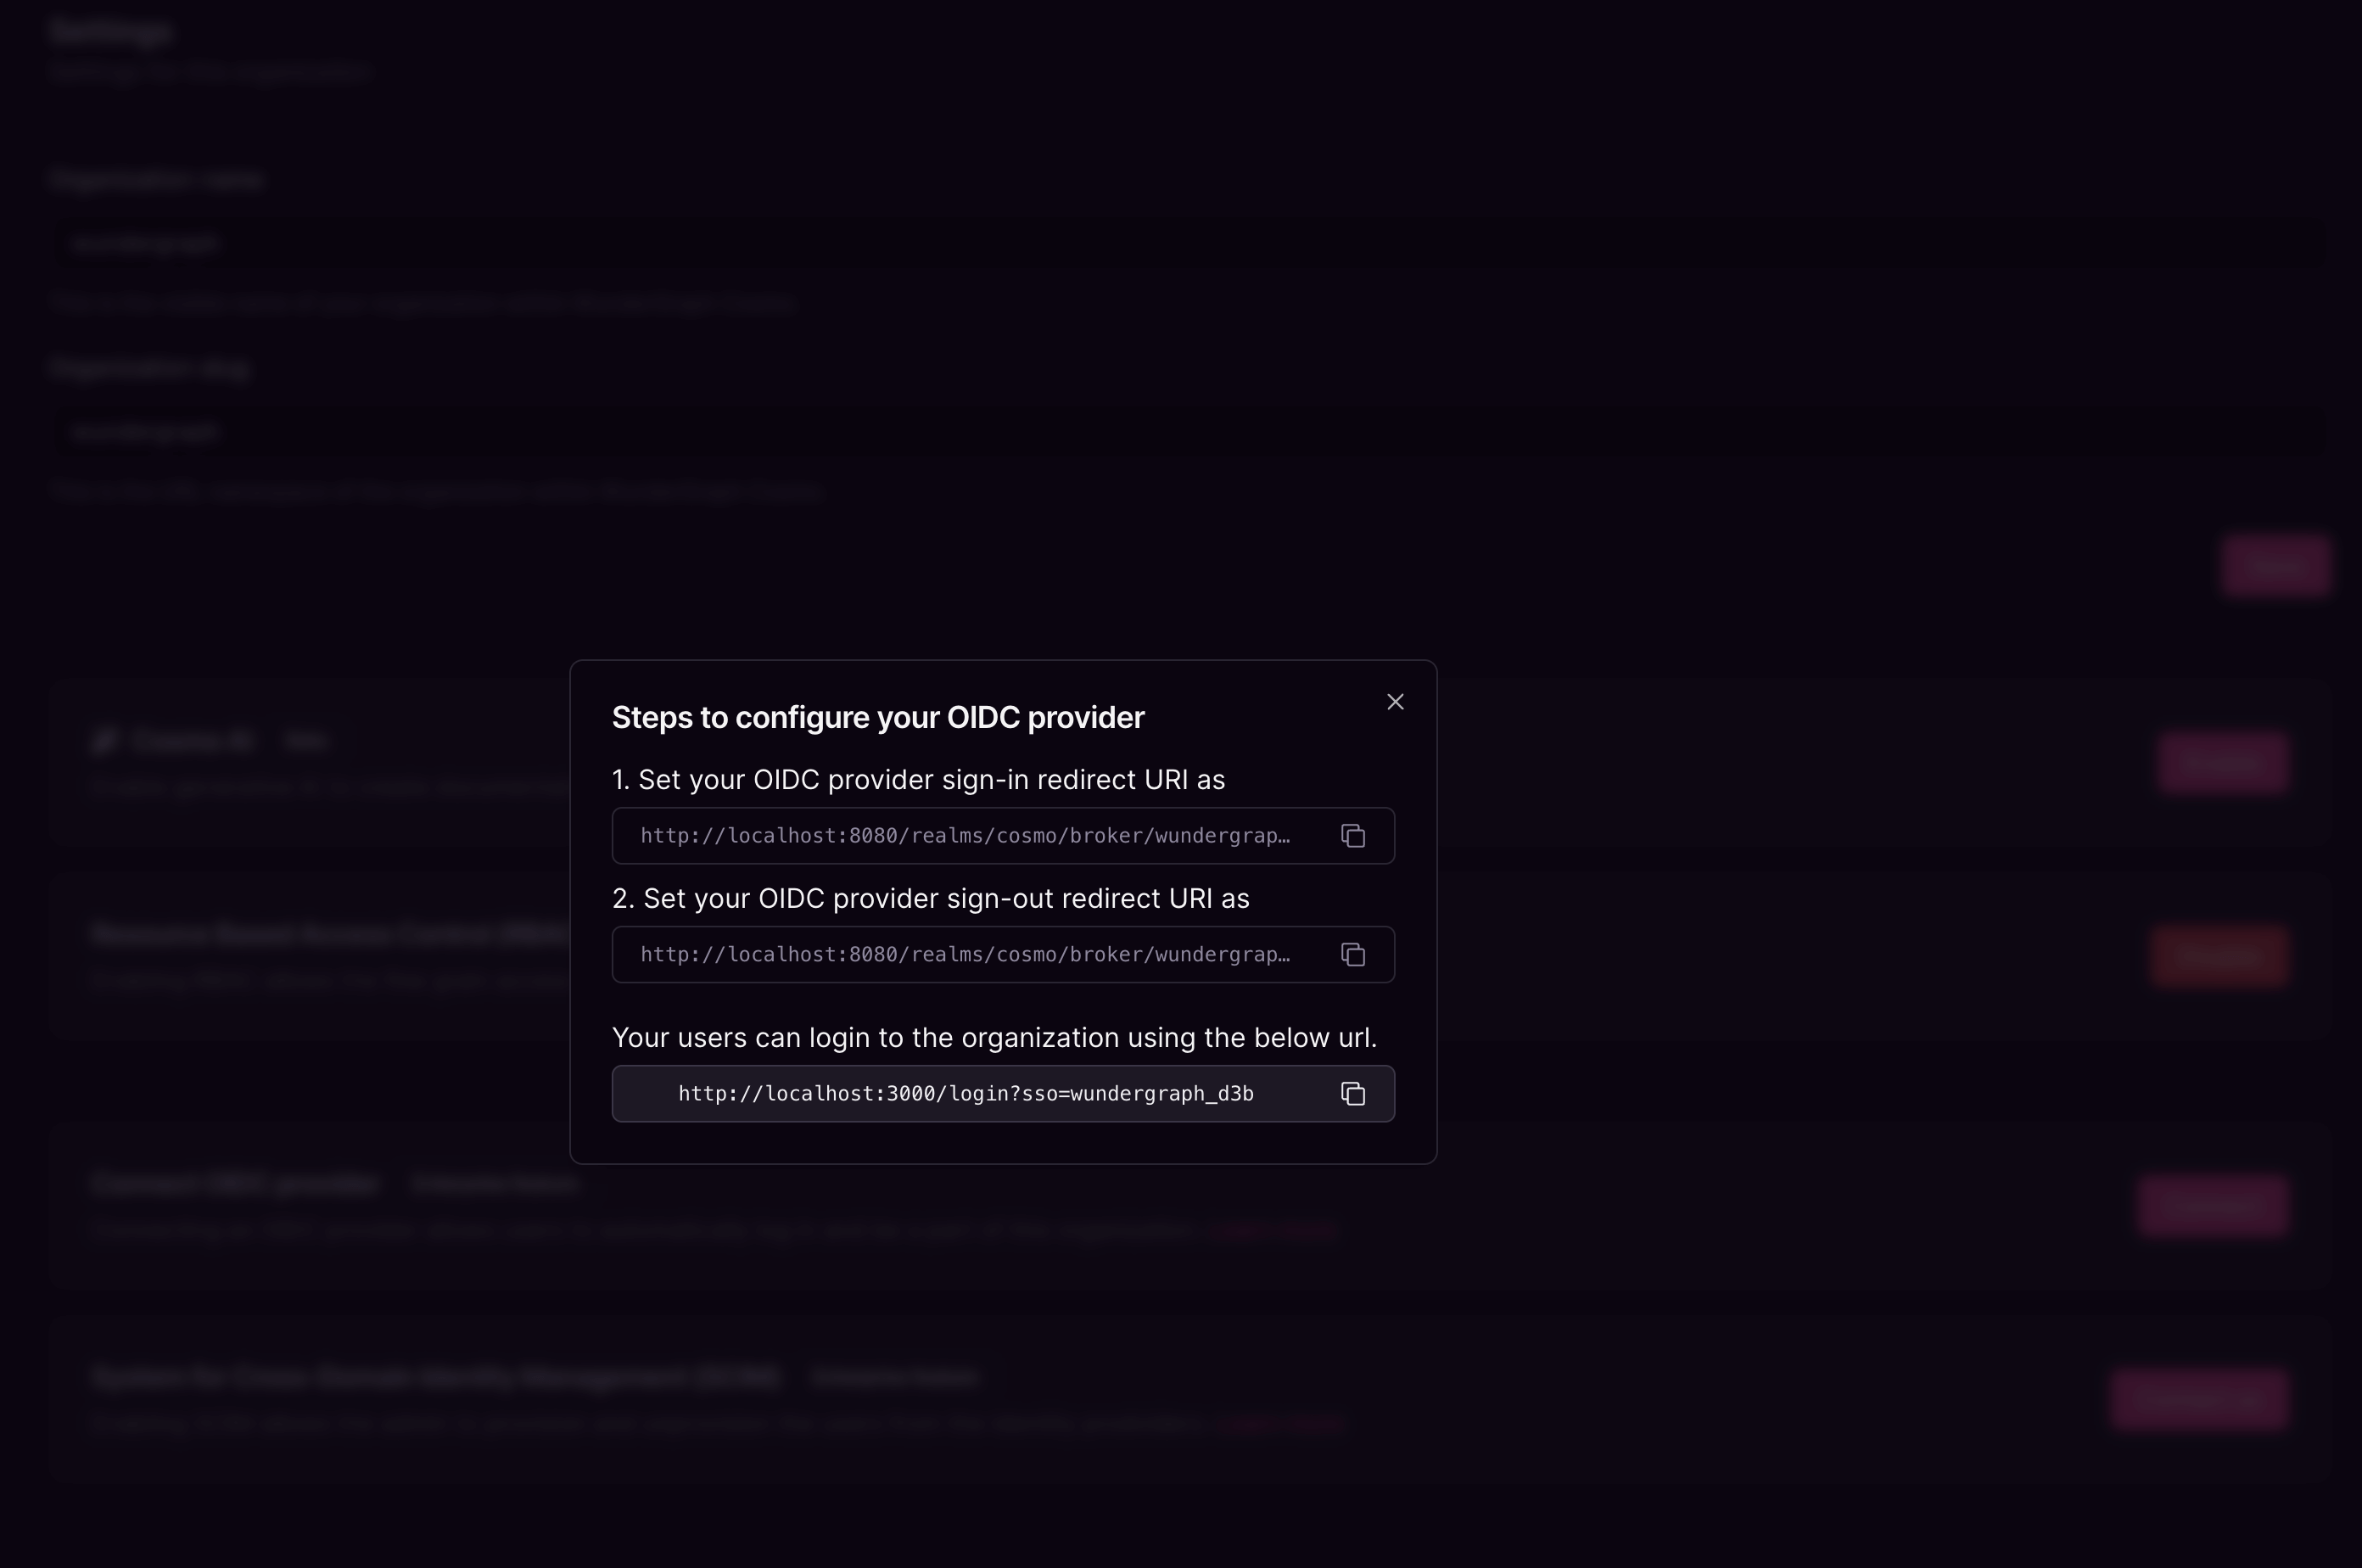
Navigate back to the client created on Keycloak and populate the Valid redirect URIs and Valid post Logout redirect URIs with the above-copied sign-in and sign-out URLs respectively. Click on Save.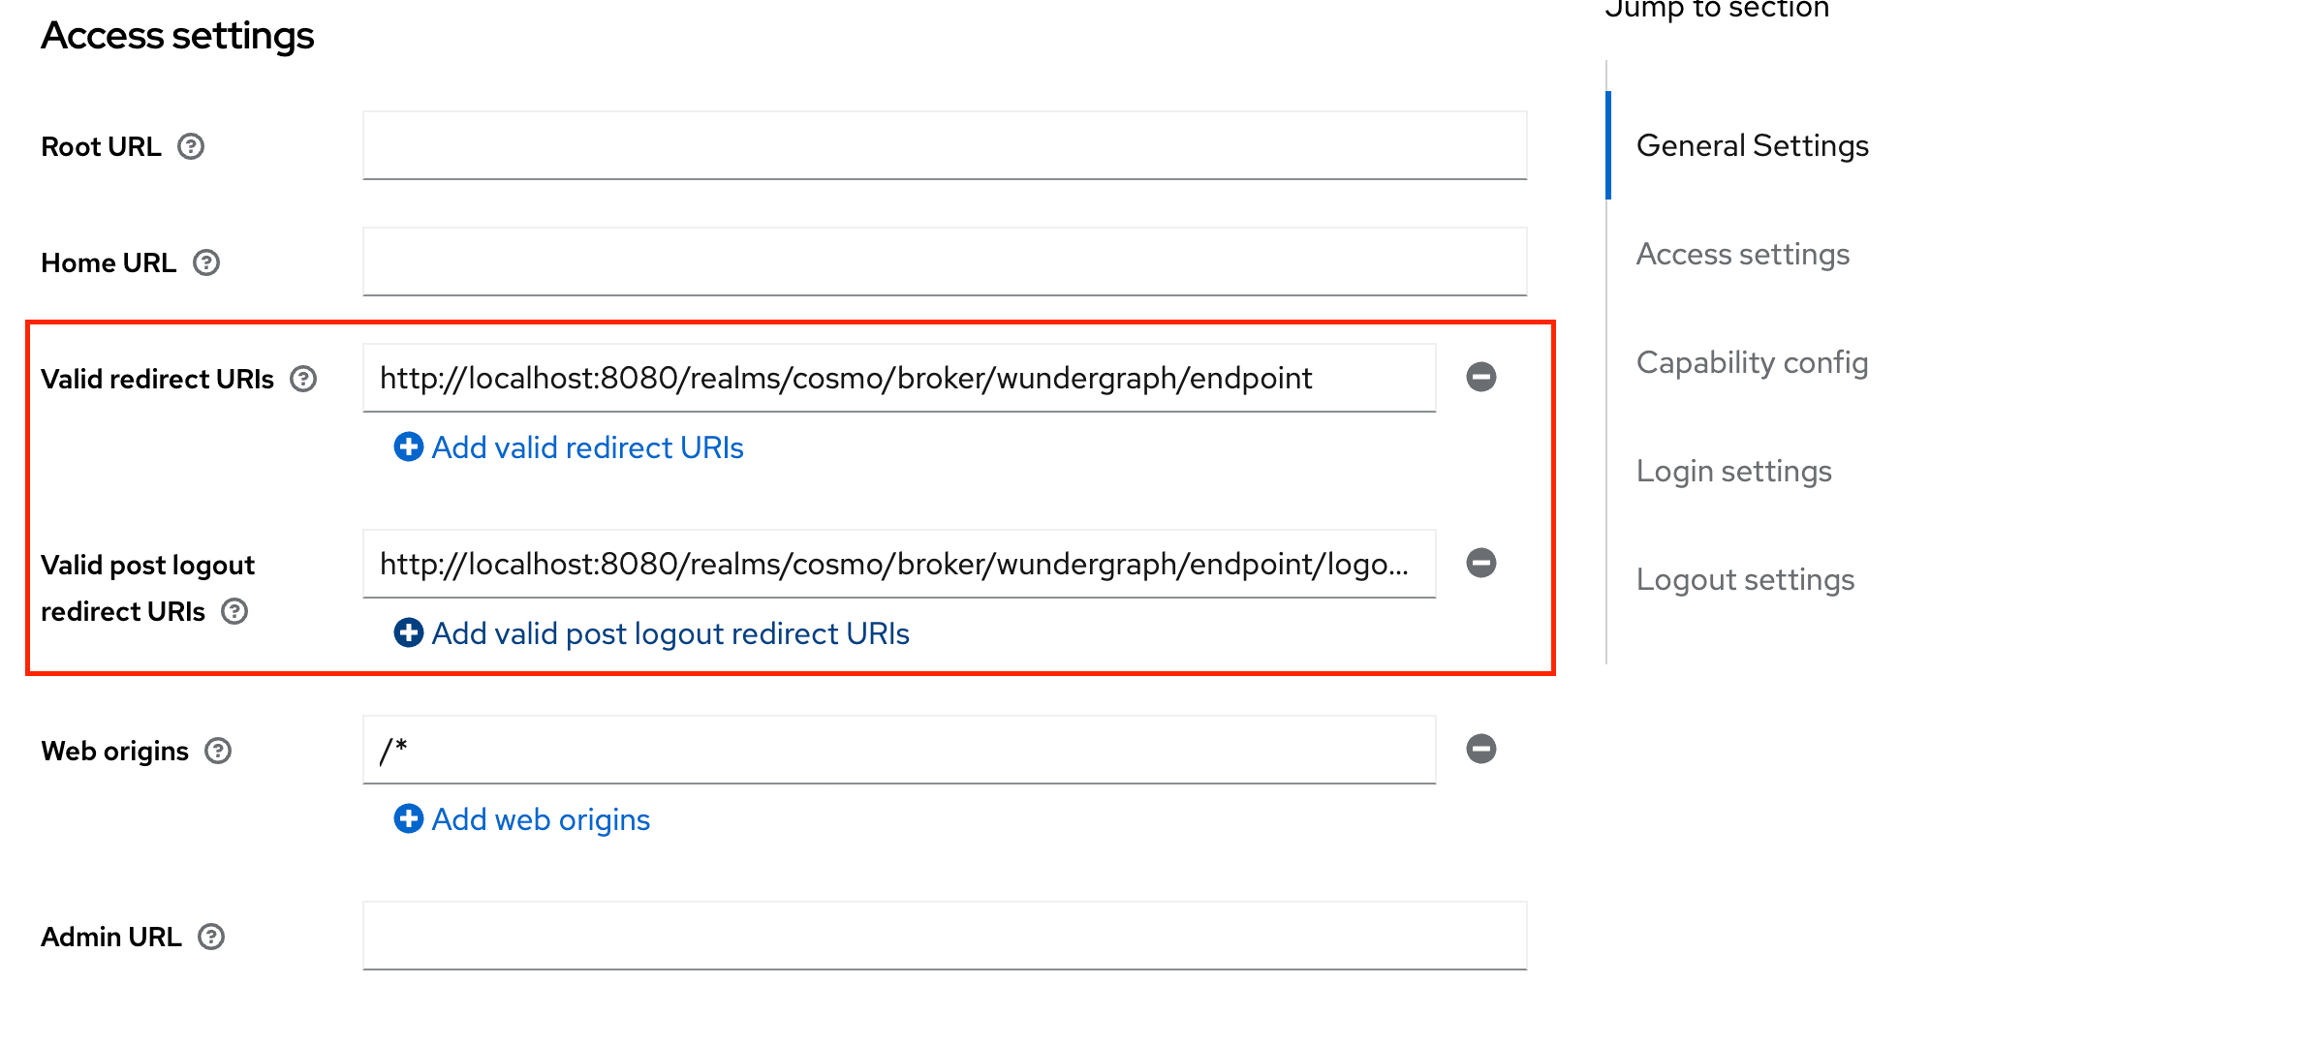

Navigate to the Client Scopes tab, click on the first client scope(usually would be ${clientID}-dedicated), and then click on Configure a new mapper.

Give the mapper a name, then populate the Token Claim Name with “ssoGroups” and then click on Save.
