Getting Started
Welcome to the WunderGraph Cosmo Cloud onboarding tutorial! This guide will walk you through the process of deploying your first federated graph and integrating it with your Cosmo Router. By the end of this tutorial, you’ll have a fully functional federated graph running locally and connected to the Cosmo platform.1
Prerequisites
- If you don’t have one, create a free account at https://cosmo.wundergraph.com/login.
- You need to have Node.js LTS (or higher), npm, and docker installed.
- Curl is needed to download files.
2
Prepare your Organization
After signing up, a personal organization is automatically created for you. You can use this for the demo, but we recommend creating a separate organization once you complete the tutorial. To do this, open the organization dropdown, select “Create a new organization”, and choose a relevant name and slug for your new organization.
3
Install the CLI
Install the CLI to interact with the control plane and manage resources like graphs and API keys:Log in with:This opens your browser and prompts you to sign into your Cosmo account. Once logged in, you’ll receive a terminal prompt to select your organization.After logging in, verify your session and ensure you’re in the correct organization by running:
Create the Demo
Create a Namespace
A namespace helps separate resources and prevents unintended modifications between environments. Namespaces can also be used to create isolated environments for better organization and management. To create a development namespace, run:Create a Federated Graph
A federated graph represents your unified, federated GraphQL schema. Each federated graph is assigned a URL and can be mapped to a single router instance. For this demo, you’ll point to a demo router. The URL doesn’t need to be valid for the demo, but in a production environment, you would specify the URL of your deployed router. Run the following command to create a federated graph:Create Subgraphs
A federated graph requires subgraphs to function. Without subgraphs, it cannot serve a valid GraphQL schema. For this demo, you’ll use pre-deployed demo subgraphs on a serverless platform. Follow the order below to ensure proper configuration:Products
Employee
Mood
Availability
- Products
- Employee
- Mood
- Availability
- Create the subgraph:
- Download the schema and publish it:

Create a Router Token
After publishing all subgraphs, you need to generate a Router Token. This token allows the router to communicate with the control plane and fetch the latest valid graph composition. Run the following command to create a router token:-
Replace
myNamewith a meaningful name for your token. -
The command returns a confirmation message and token, similar to:
- Copy and store the token securely, as it will not be shown again. You will need it in the next step.
Run the Router
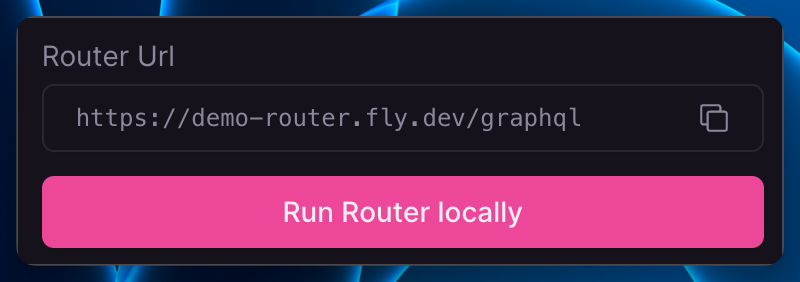
Finally, go to the Overview page of your federated graph in Cosmo Cloud and click “Run Router Locally” to copy the command needed to start the router. Make sure to replace<graph-api-token> with the token you copied set in the previous step.
Open the Playground
Open http://localhost:3002 and run your first GraphQL operation with WunderGraph Cosmo! The same playground is also available on Cosmo Cloud.Example Query that involves all subgraphs
Bonus
After executing the Example Query, use the dropdown on the right to see how the router processed the request and distributed it across subgraphs. Inspect the generated query plan to understand execution details, troubleshoot issues during development, and ensure optimal performance in production. If you want to learn more about it, please take a look at ART and Query Plans.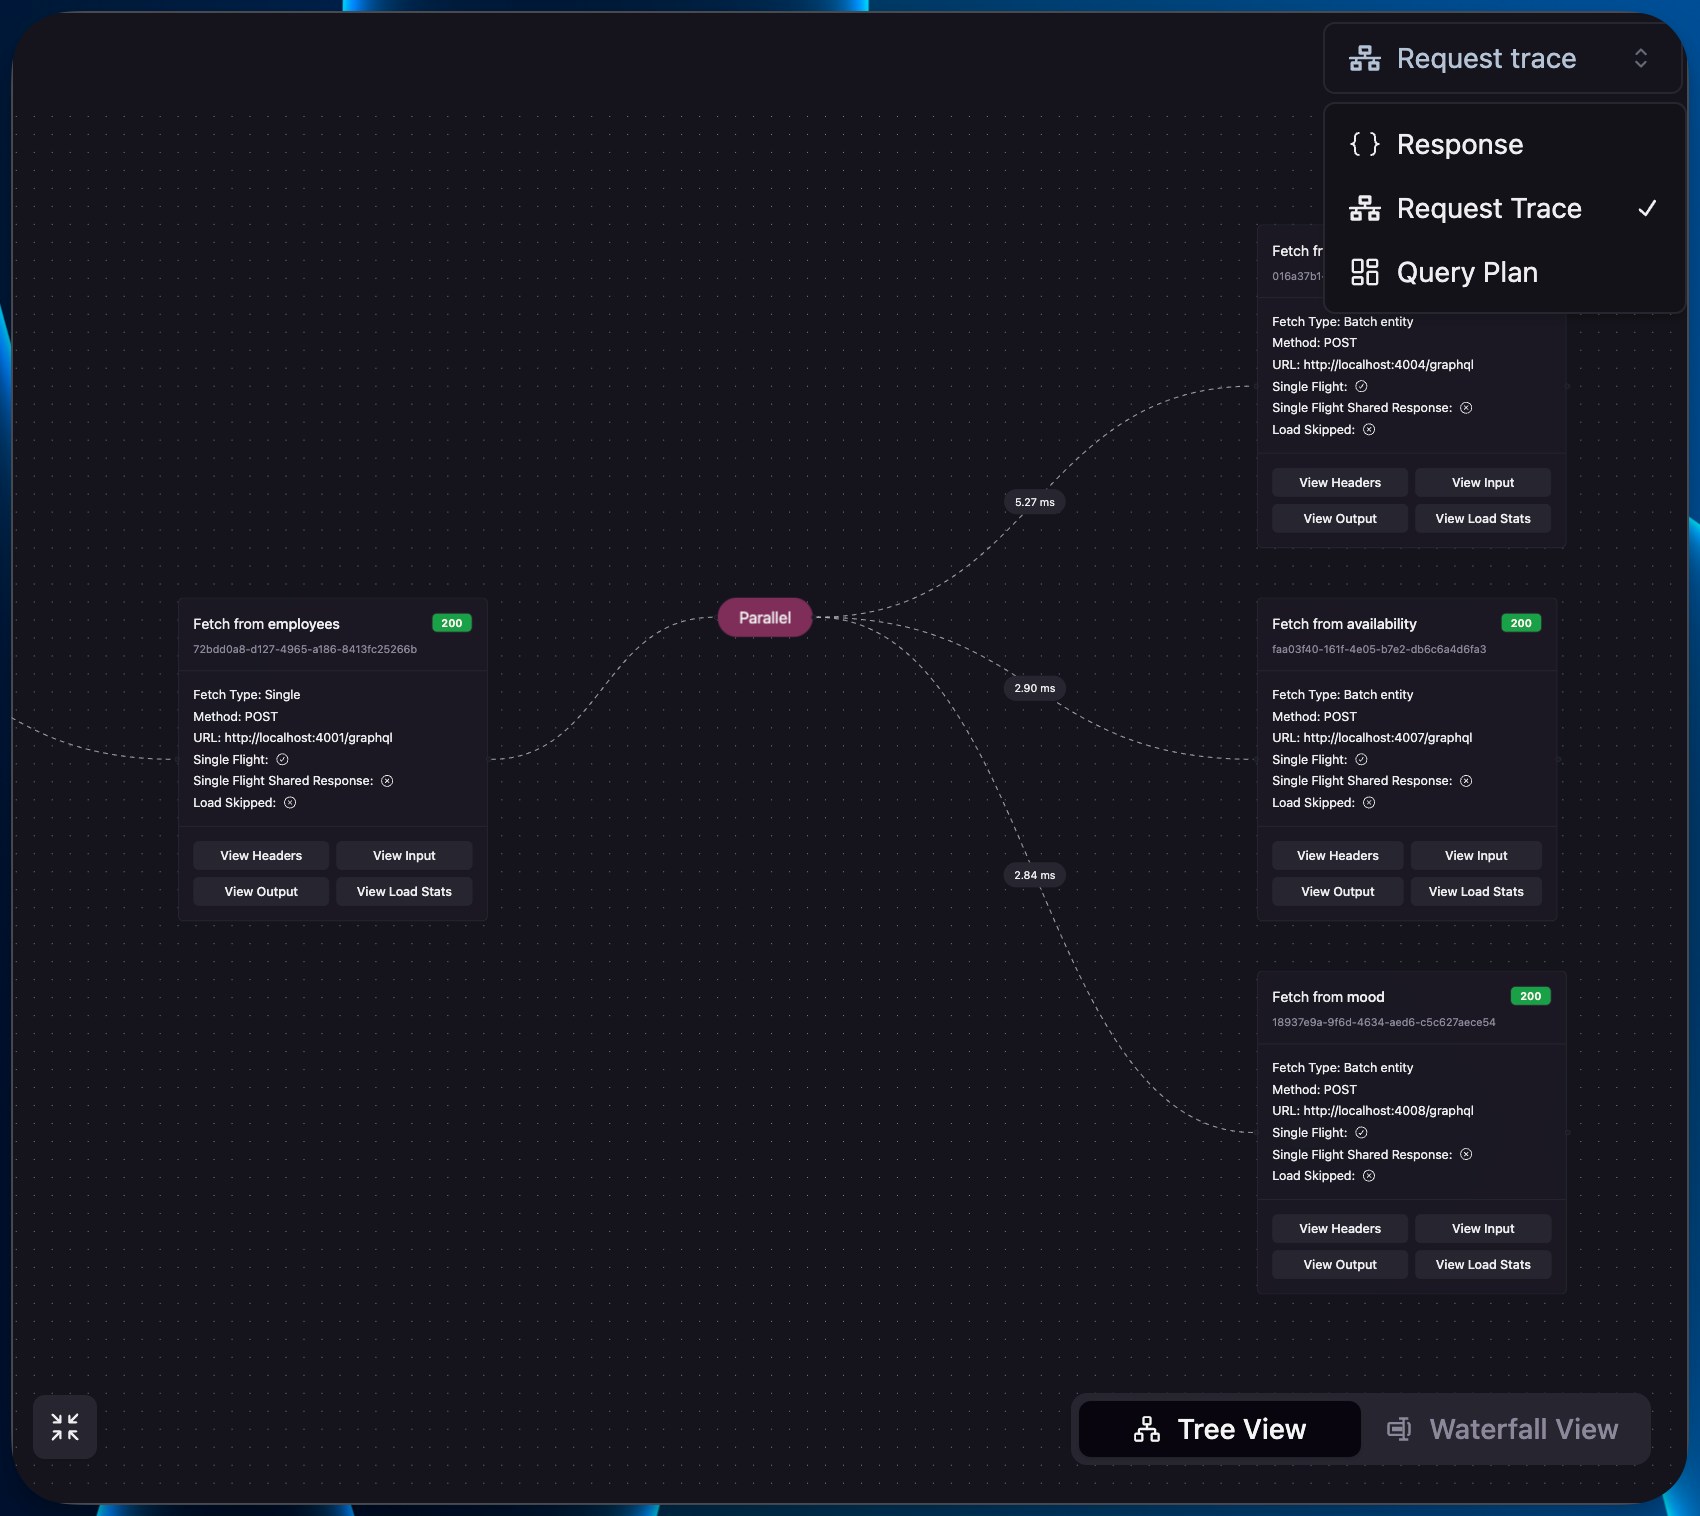
Prevent breaking changes
Each time you interact with the router, schema usage data is collected and centralized on our platform. This data helps you manage federation at scale and, more importantly, identify potential impacts on your customers before making changes. To integrate this into your workflow, use the check command to assess the impact of any schema modifications.1
Download the schema of the Employees subgraph
Run the following command to download the schema:
2
Locate and open the schema file
By default, the file is saved in your current working directory. Verify its location with:If you need to search for the file, use:Once you’ve located the file, open it in your preferred text editor modify it.
3
Modify the Schema and Run the Check Command
Remove the Run the check command:
OPERATIONS enum value from the schema:4
Breaking change detected with client usage
You should see an output similar to the following. The change is flagged as breaking because the Click the
departments field was queried in an example query, meaning its removal would impact existing clients.Open in studio link to review the schema check in Cosmo Studio.5
Release your changes
Once you’re confident about the impact of your changes, publish them to automatically update your router fleet: