Steps to set Auth0 as an OIDC identity provider
Either use the default application or create a new application by clicking on the Create Application button.
A dialog will open, give the app a name, select the type of application and then click on the Create button.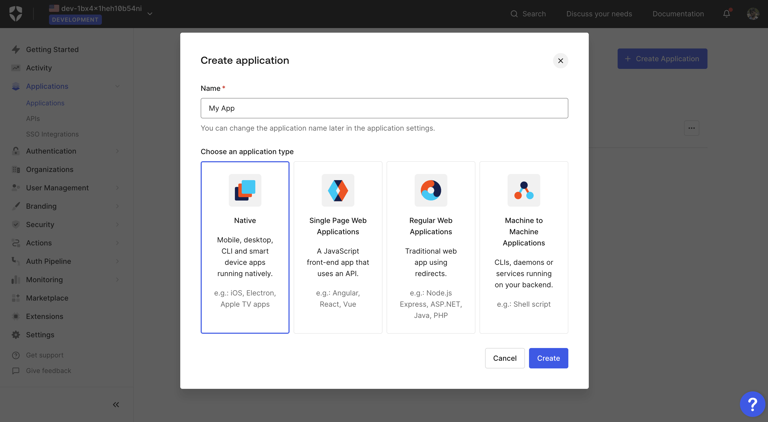

Once the app is created, navigate to the Setting tab. Now copy the Domain, Client ID and Client Secret.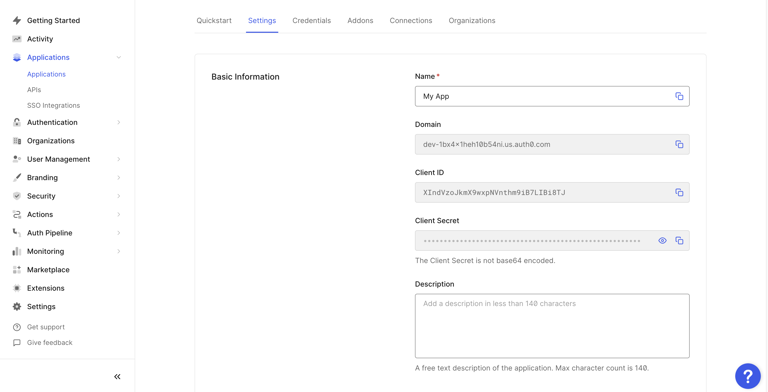

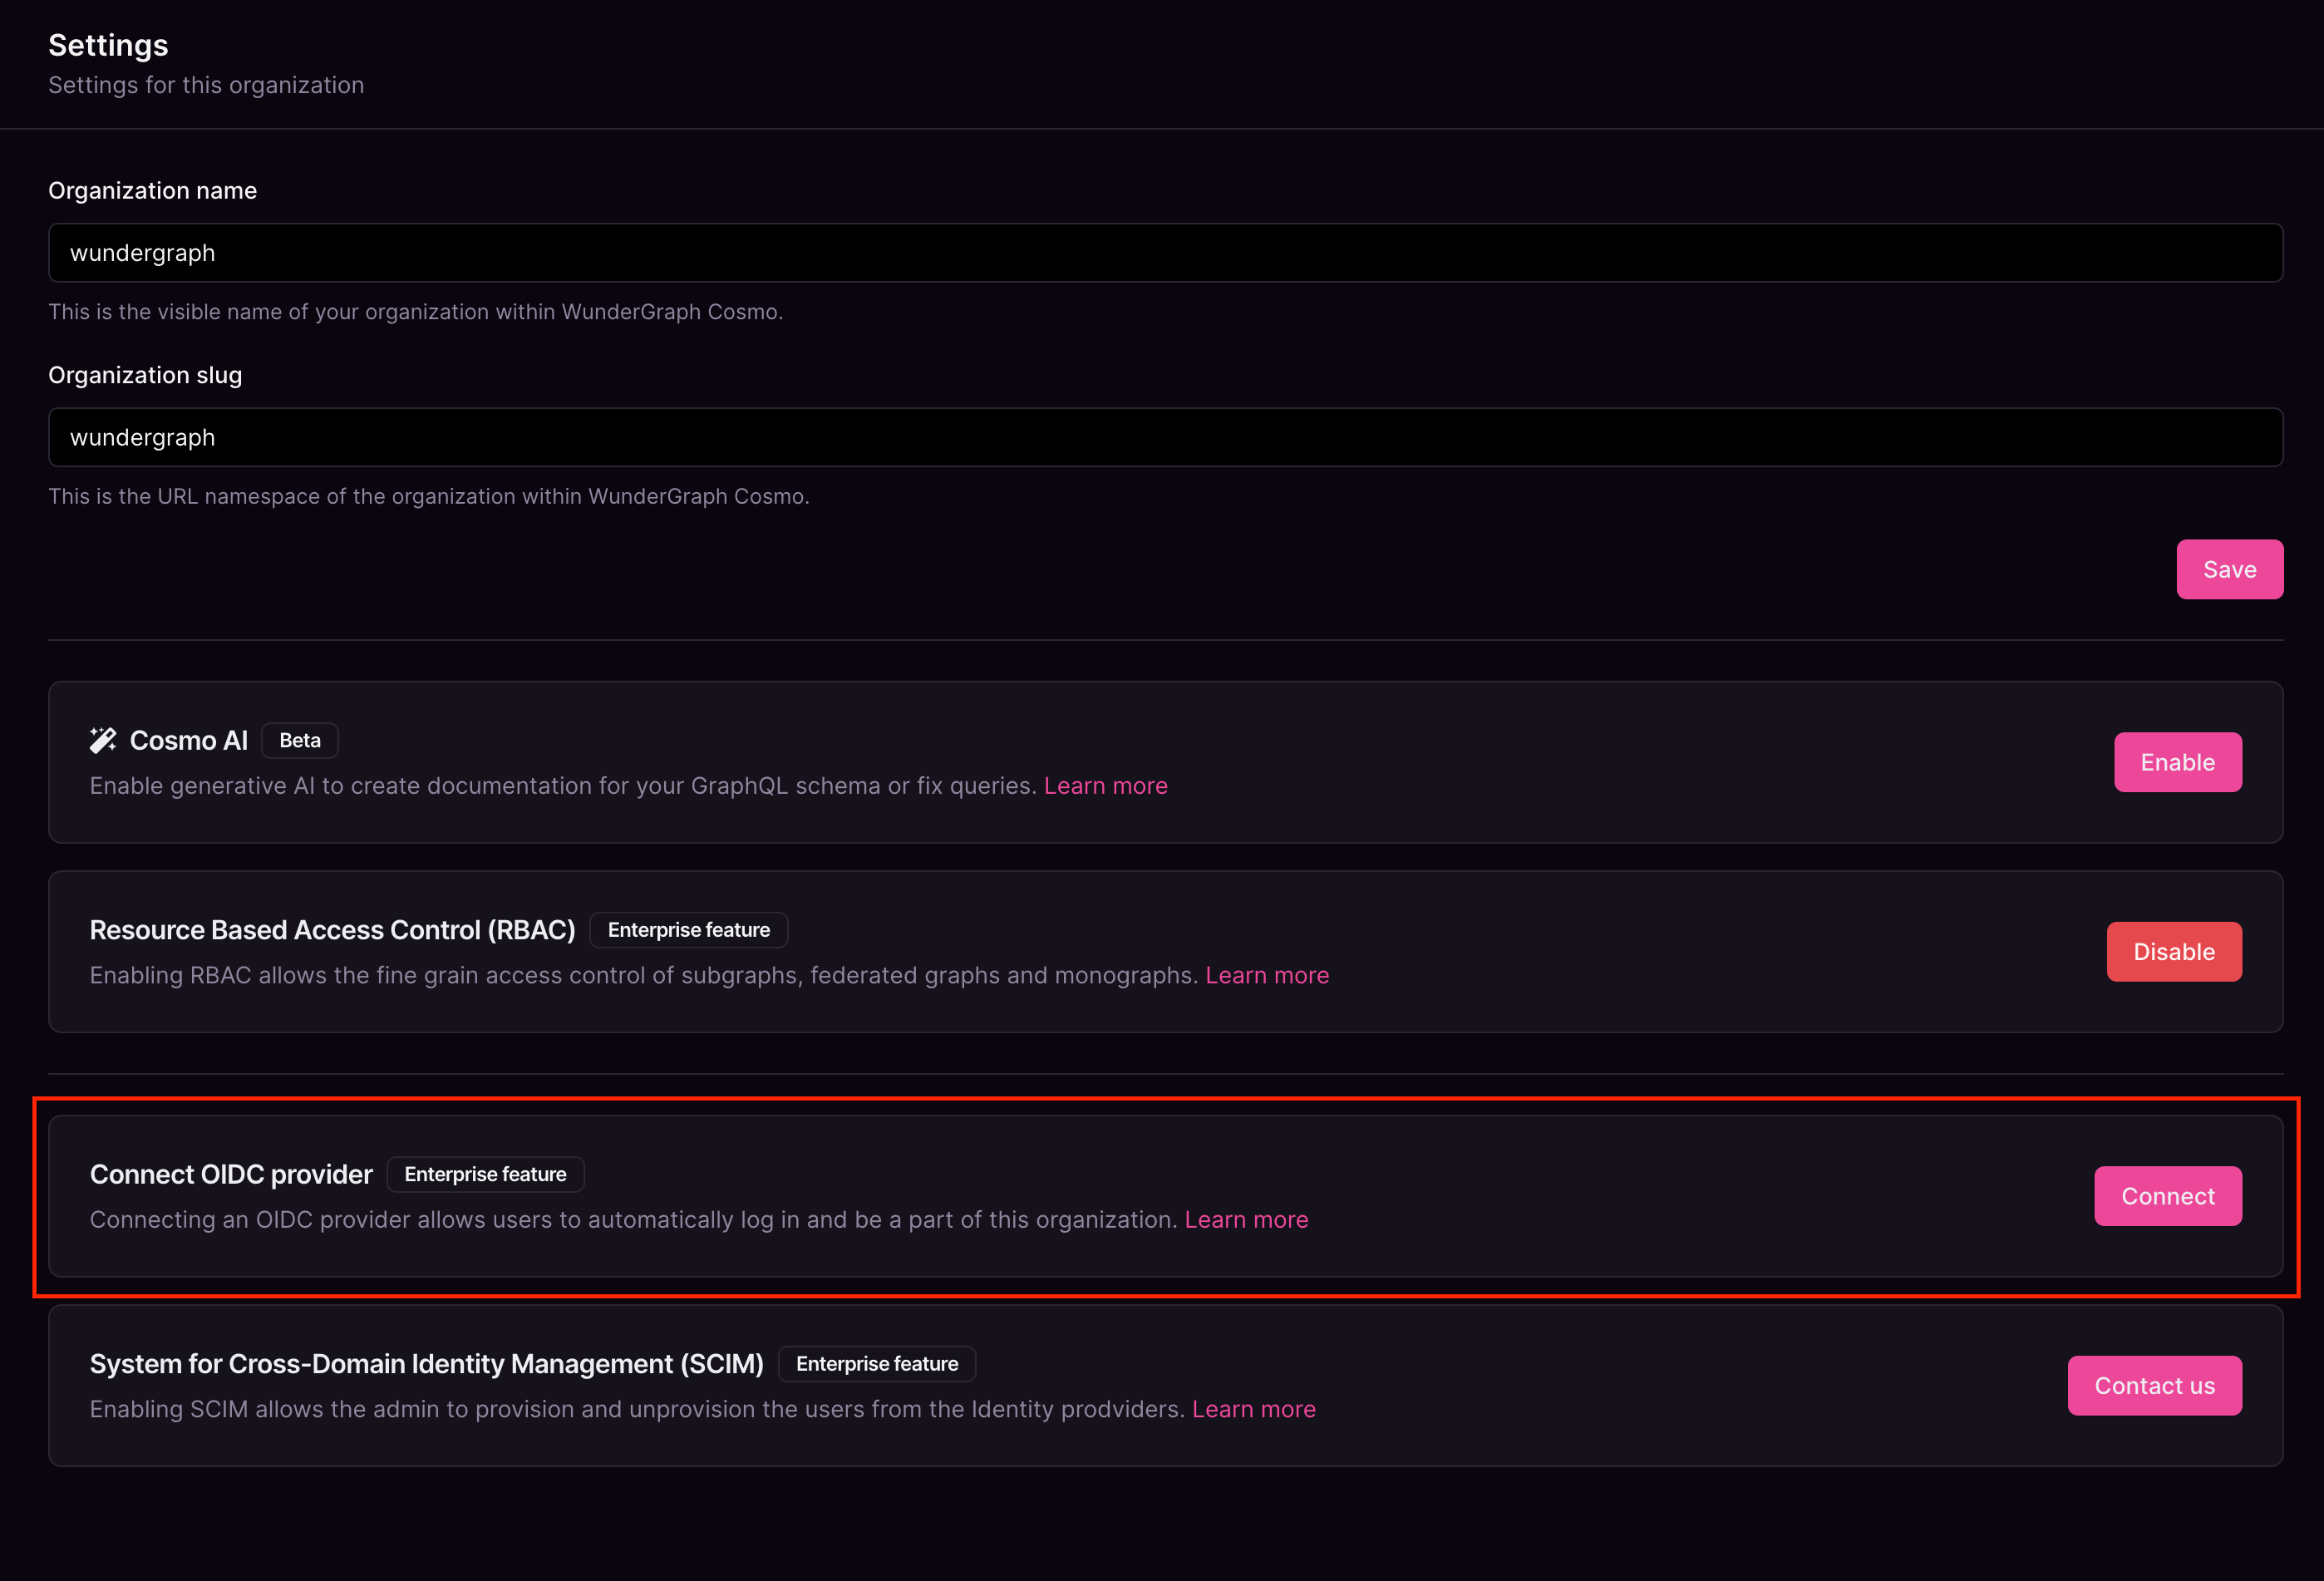
Give the connection a name, the Discovery Endpoint will be 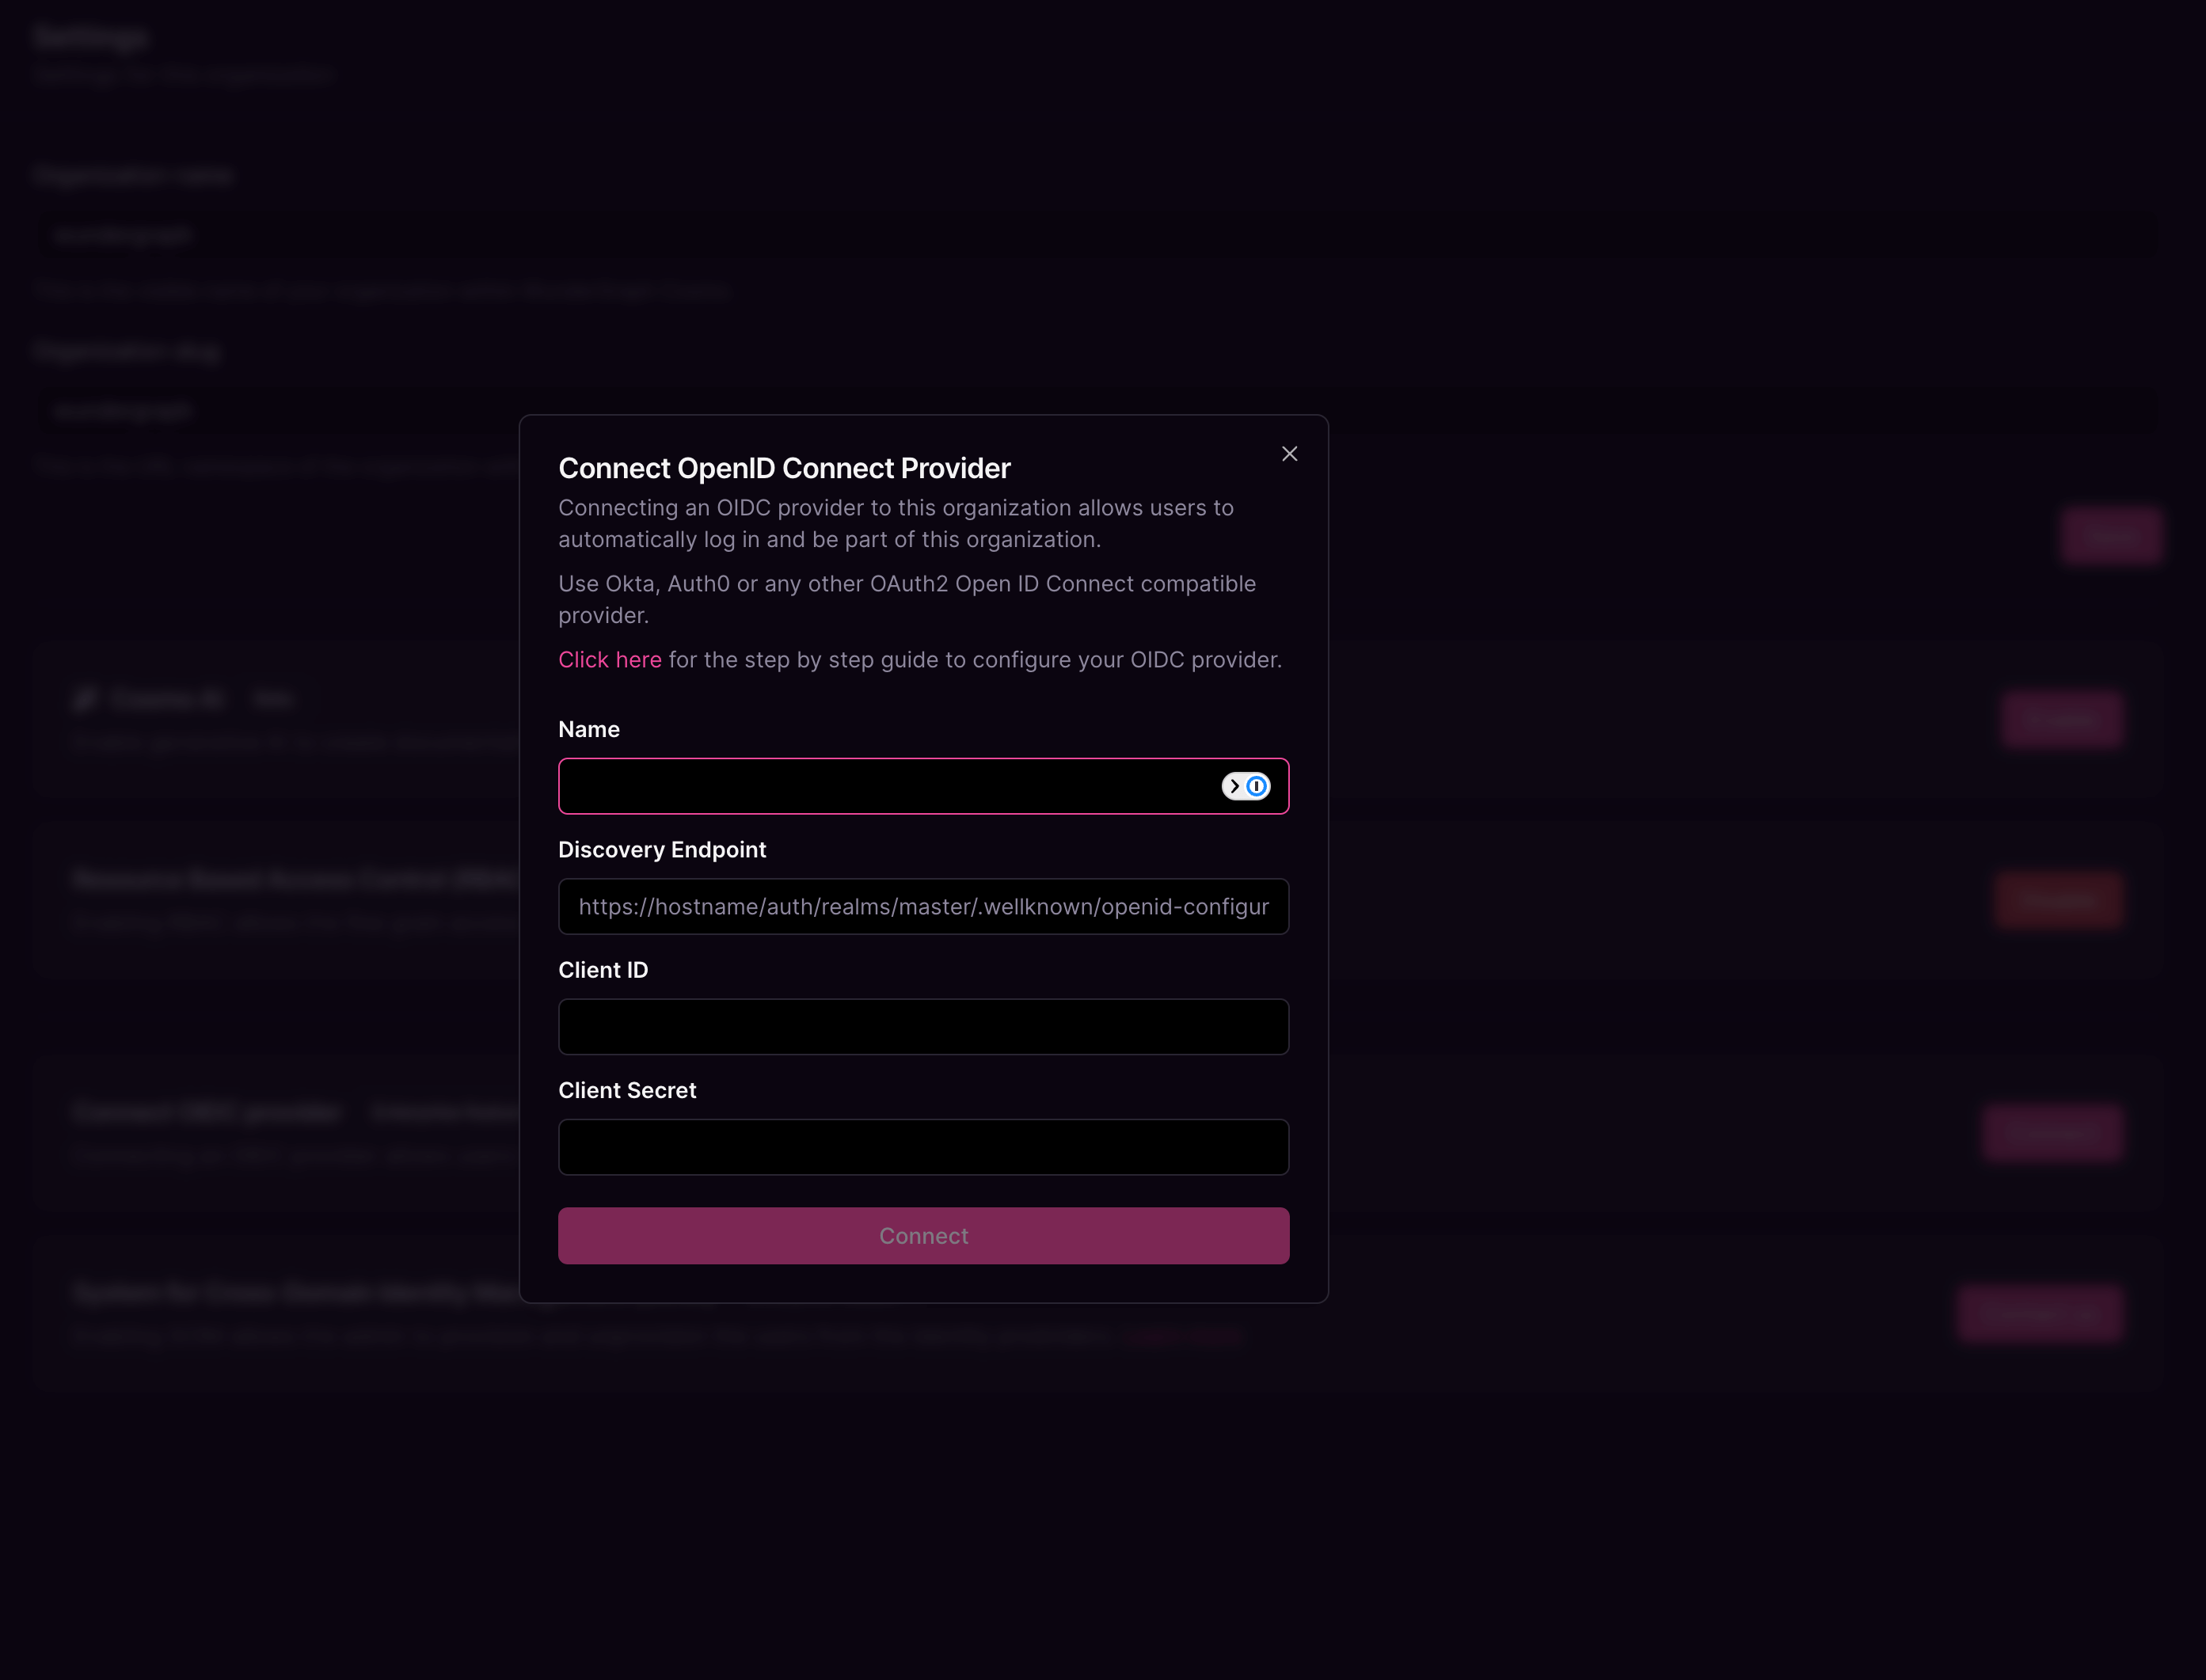
https://YOUR_AUTH0_DOMAIN/.well-known/openid-configuration , and paste the Client ID and Client secretcopied before into the Client ID and Client Secret fields respectively, and then click on Connect.
Configure the mapping between the roles in Cosmo and the user roles in Auth0. The field Group in the provider can be populated with the name of the role or a regex to match the user roles. Once all the mappers are configured, click on Save.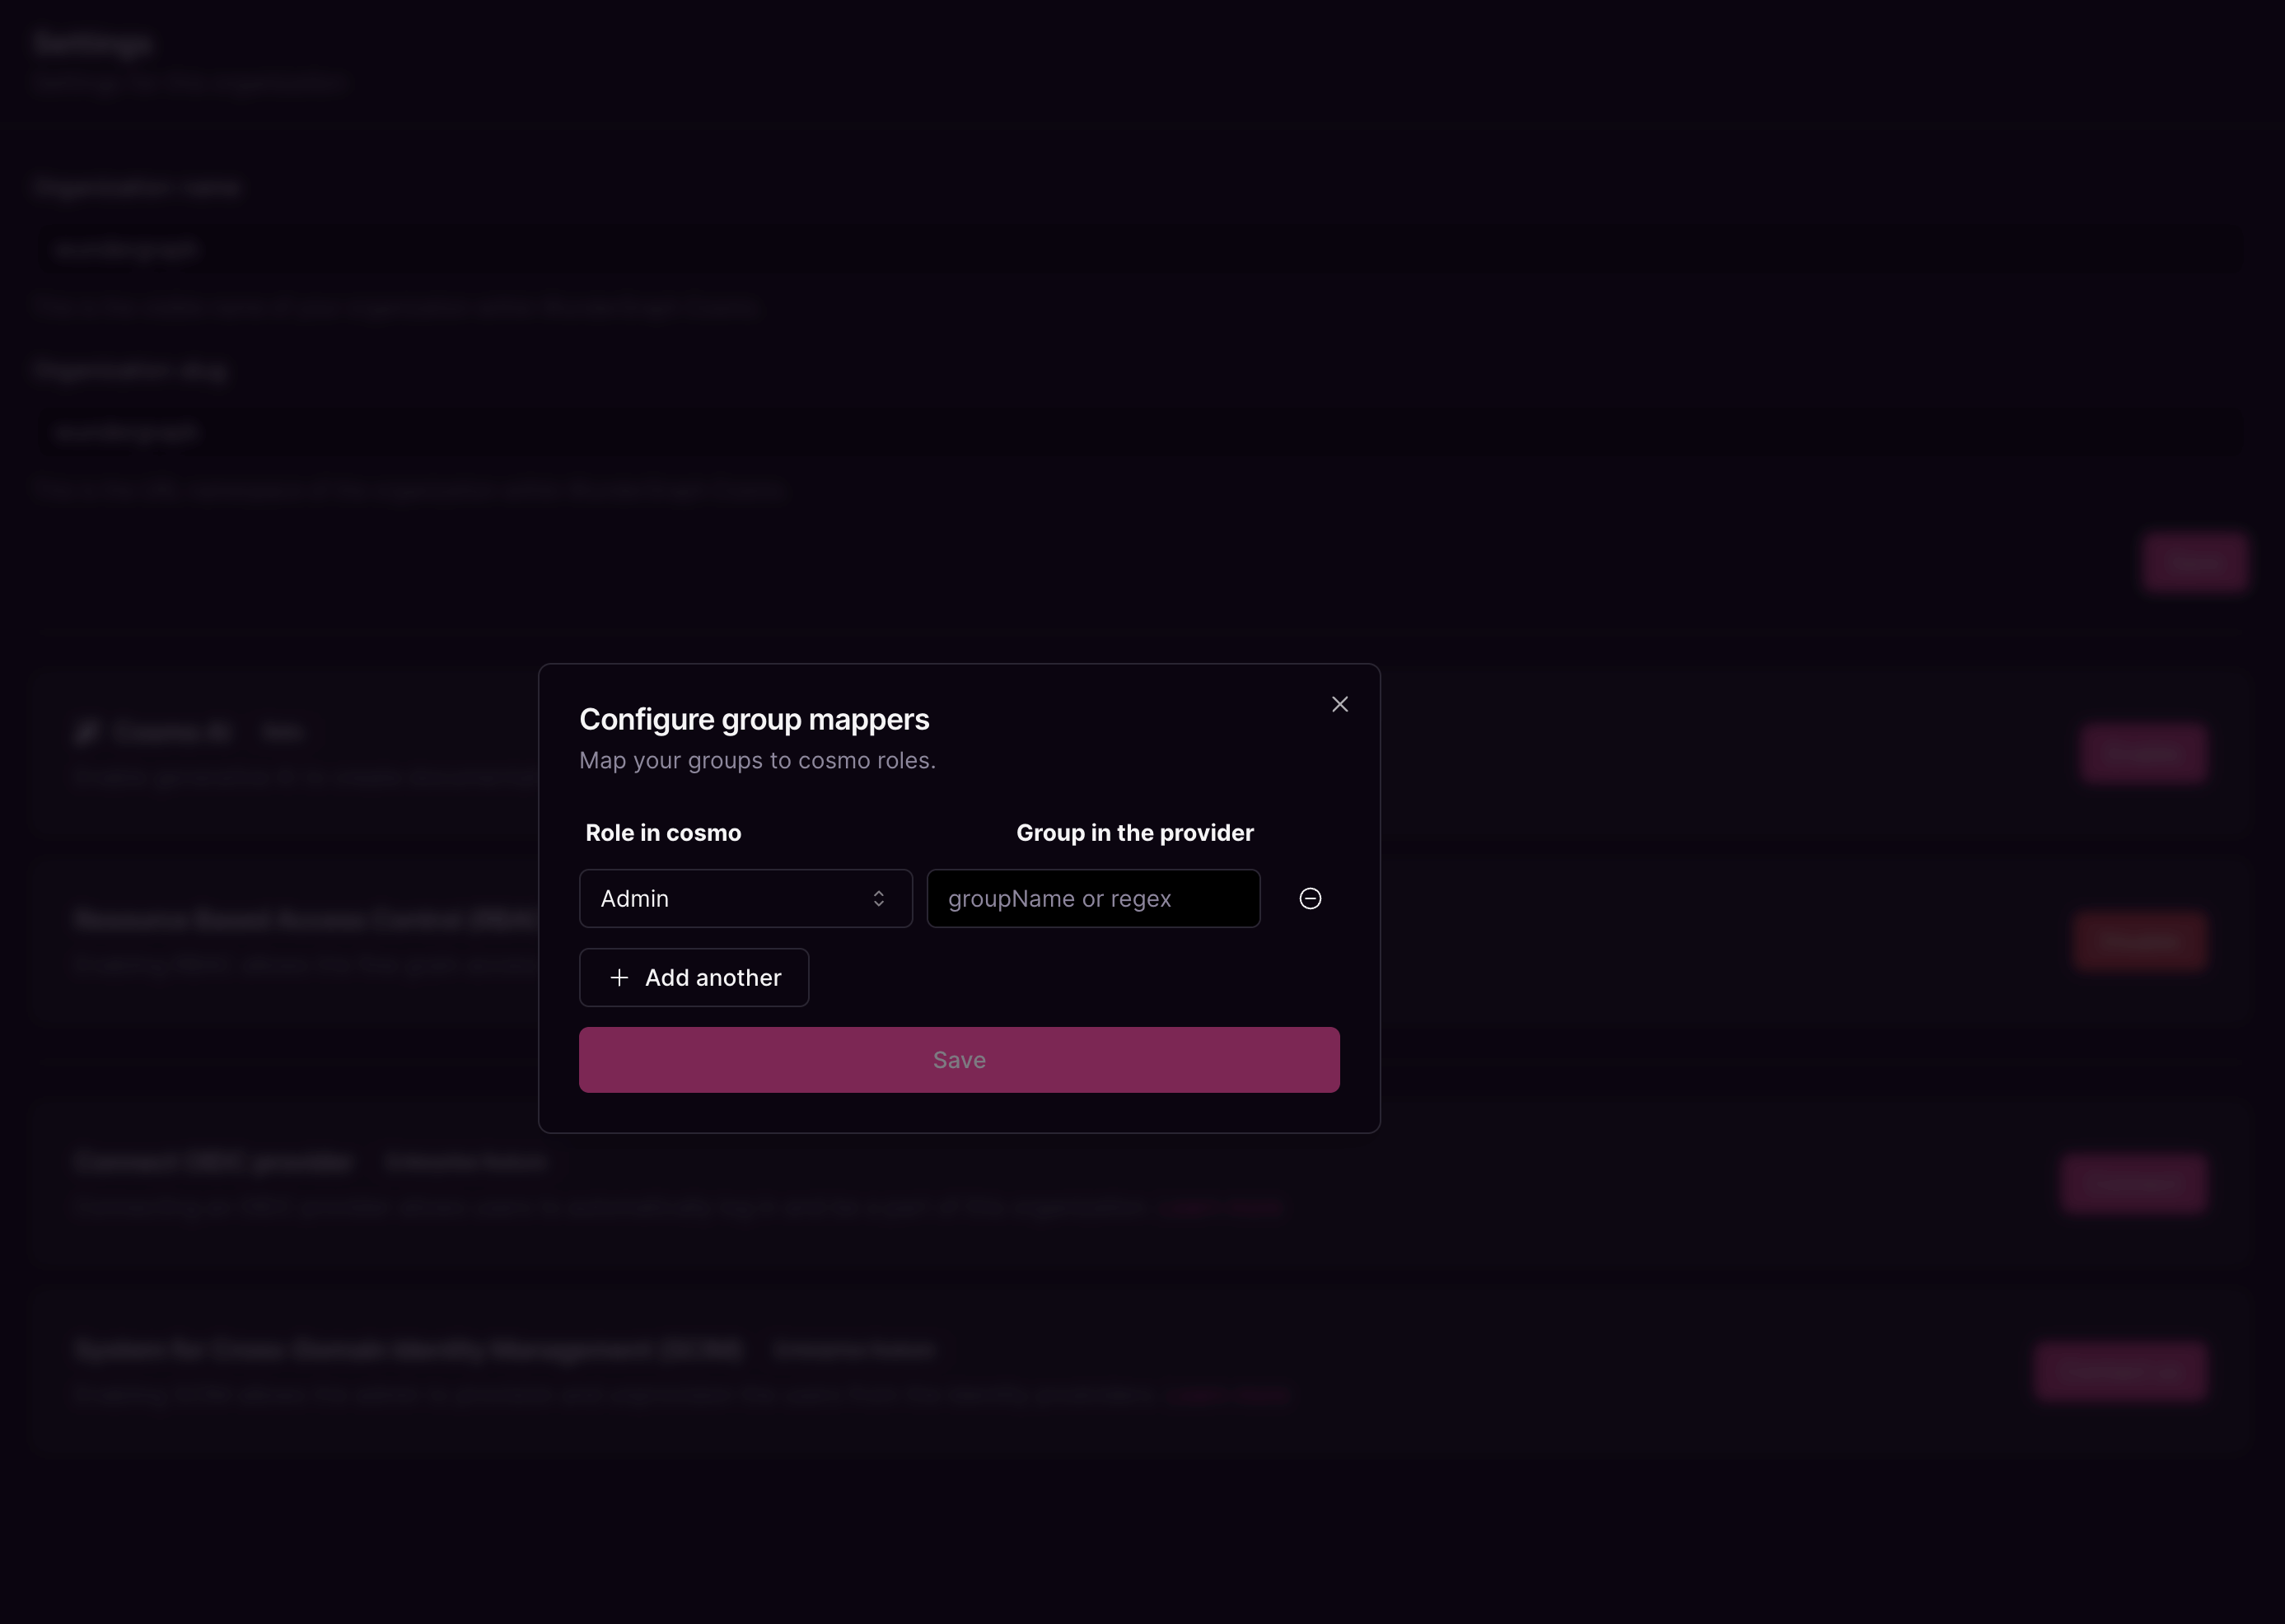

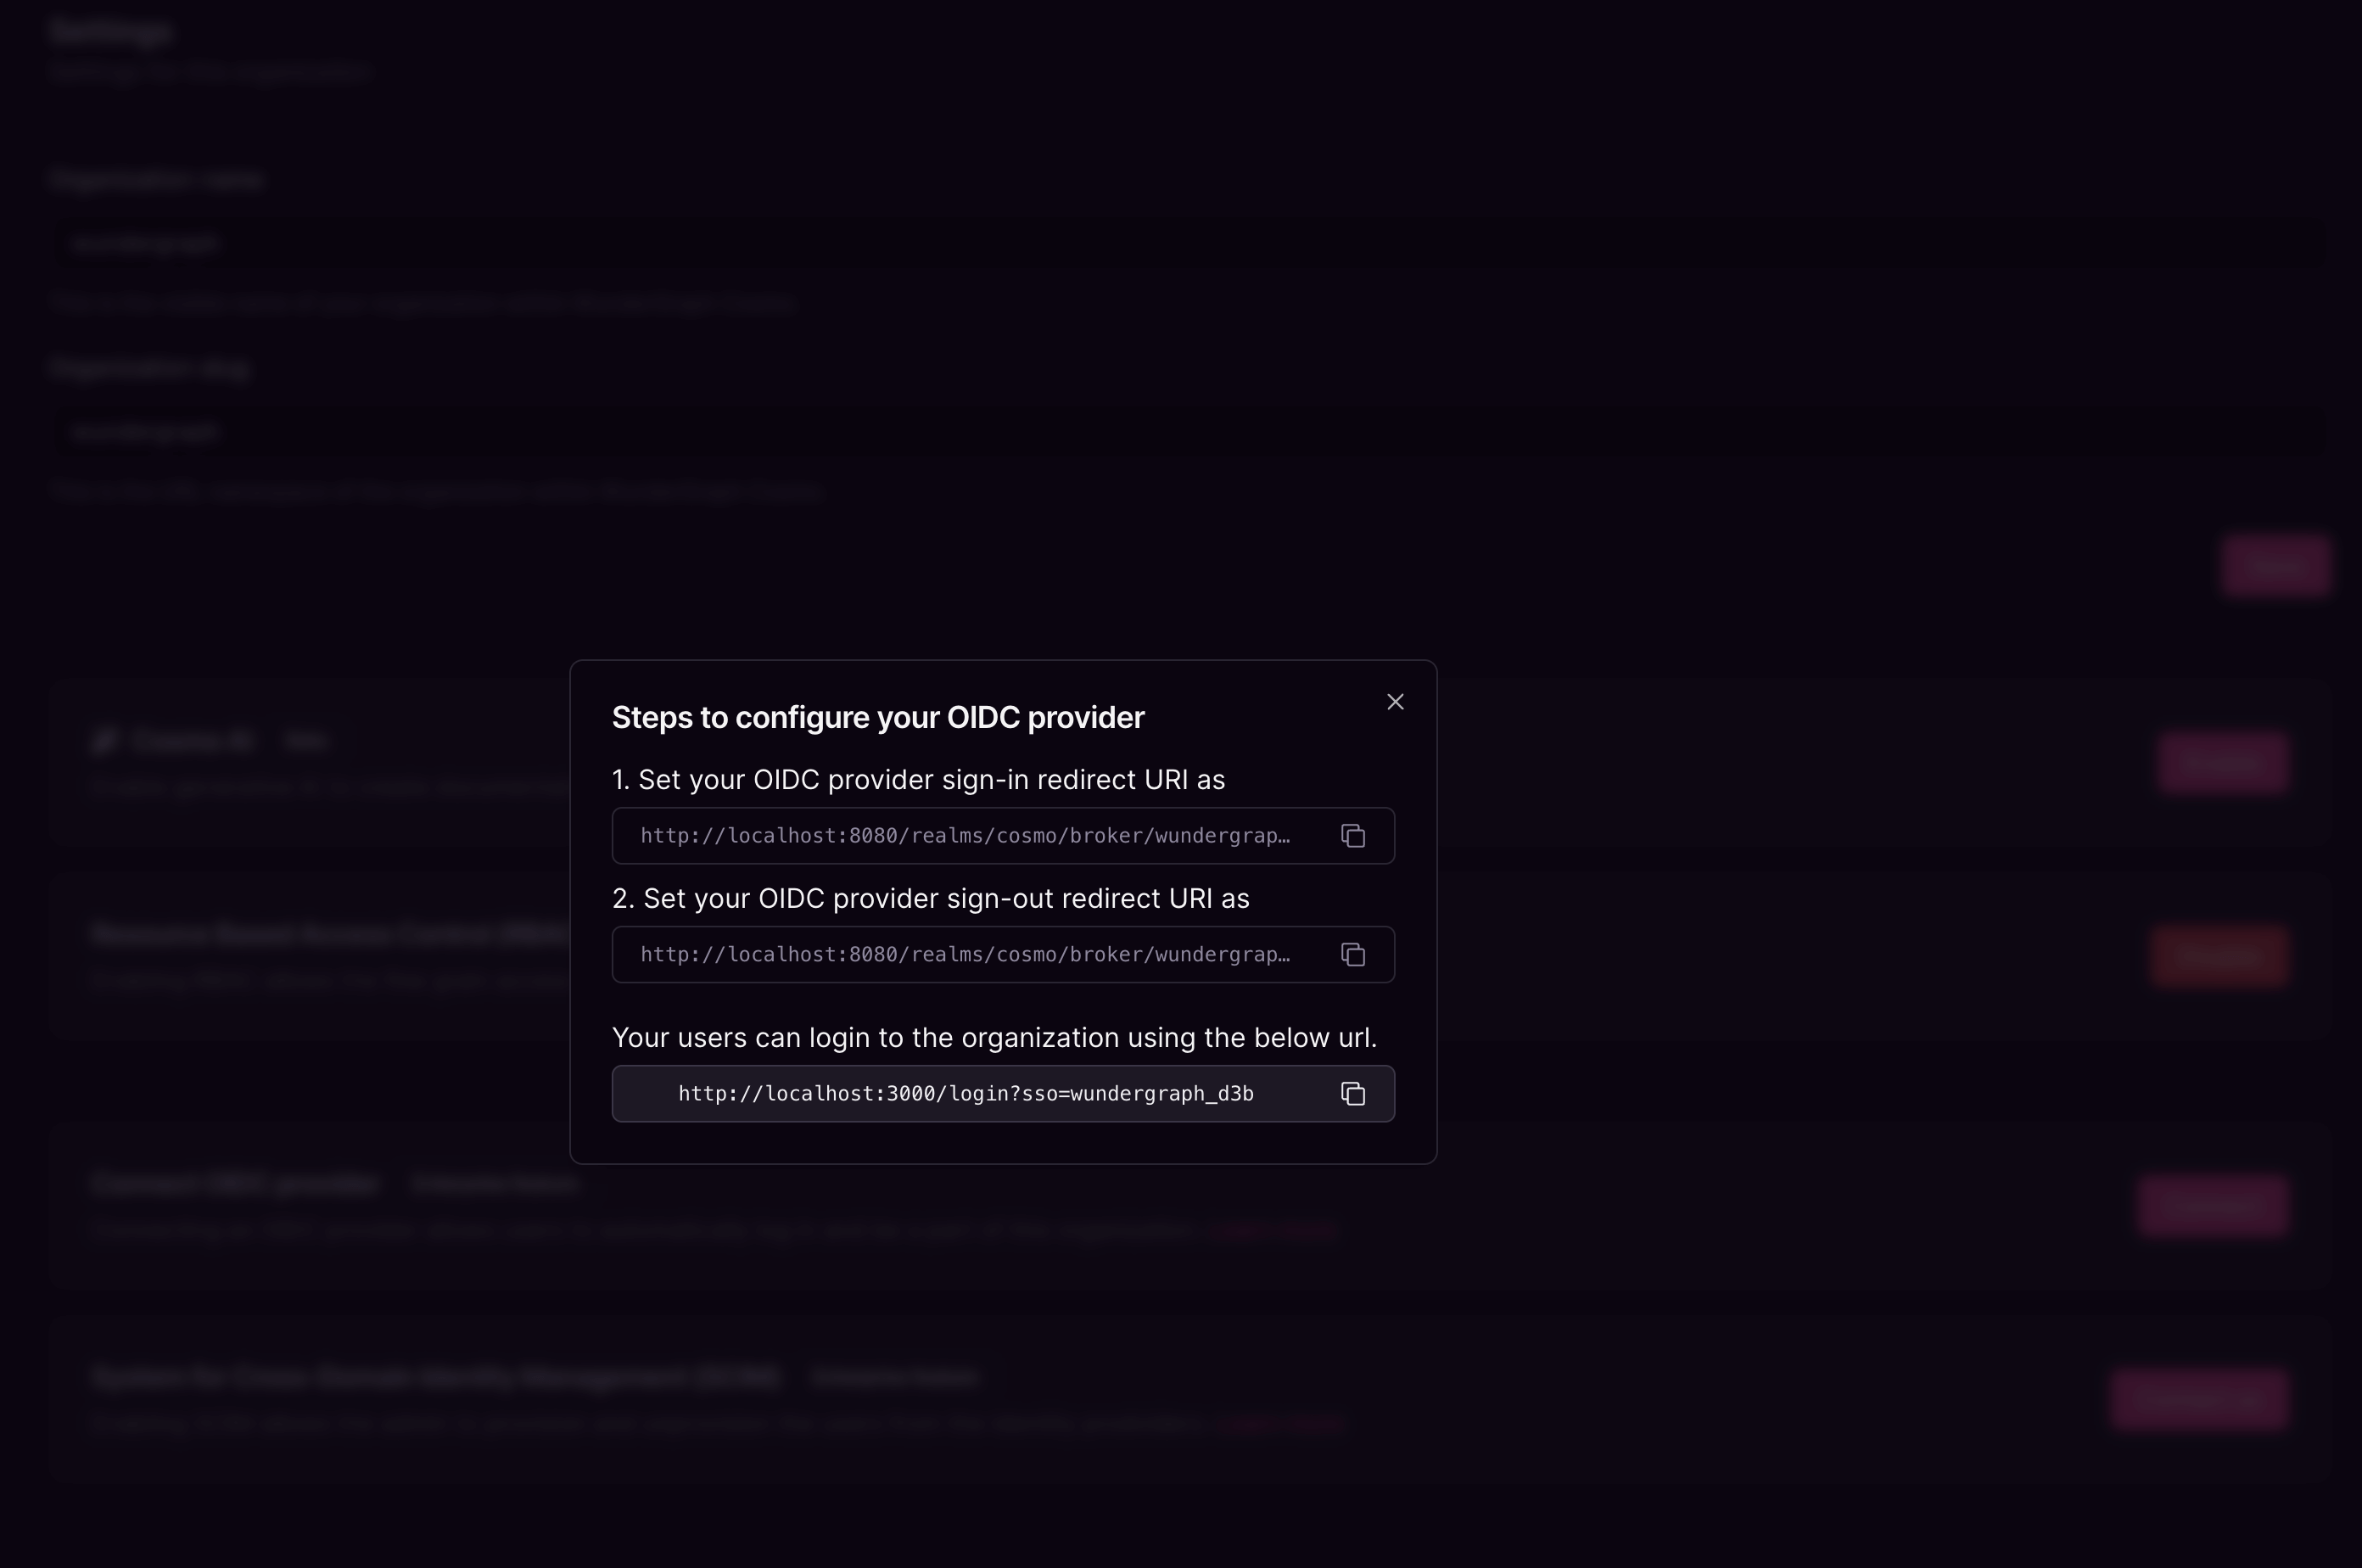
Navigate back to the settings tab of the application created on Auth0 and populate the Allowed Callback URLs and Allowed Logout URLs redirect URIs with the above-copied sign-in and sign-out URLs respectively. Click on Save Changes.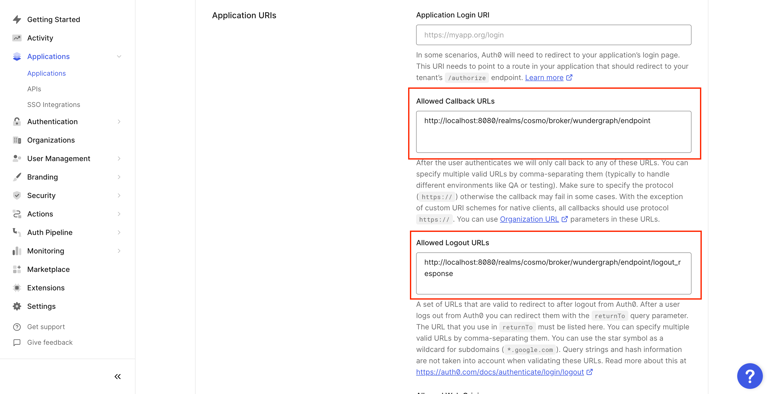

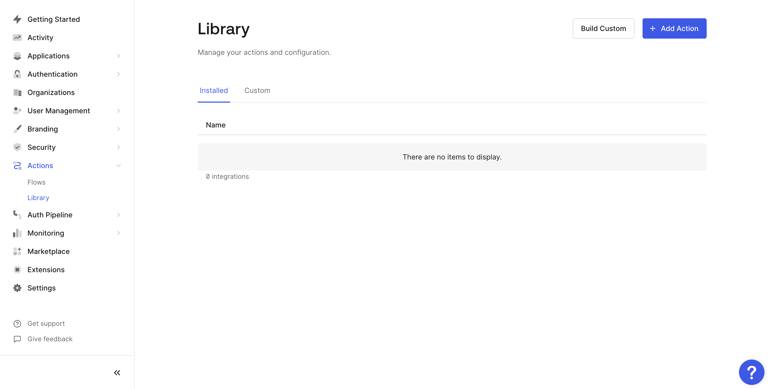
Give the action a name, select Login/Post Login as the Trigger and Node 18 as the Runtime and then click the Createbutton.
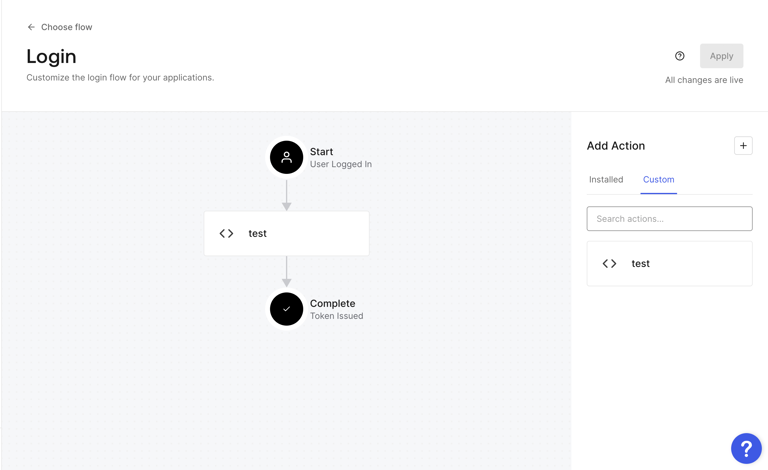
Navigate to the Custom tab on the right side of the page. Now drag the action and place it between Start and Complete as shown below, and then click on Apply.